By now, you're probably pretty eager to stop reading and start building, right? Well, you're in luck, because we have the instructions right here!
Step 1: Tools and Materials
For this centrifuge, you need to acquire a few materials and tools.The materials you will need are:
1/2 inch PVC Pipe
Ring stand
Ring stand clamps
Balsa wood
50G Weights
Rocket engine
Model rocket engine holder
Type B modle rocket engine
10K resistor
Reed Switch
Wiring
Arduino Uno
Computer & USB cable
Duct tape
Model rocket fuse and igniter
Small Metal Rod
Magnets
The tools you will need are:Hot glue gun
Drill
Soldering Iron
Step 2: Assembling the Base
To assemble the rocket centrifuge base, you will need to take the ring stand, and cover it with rocks. Make sure they are heavy rocks so the centrifuge will not fall over. Then, use clamps to secure the smaller metal rod to the ring stand rod. The base should now be done.Step 3: The Rotor
After the base has been built, it is time to build the rotor. To do this, you will start by drilling a hole in a piece of PVC pipe. Drill this hole in the end of the pipe and make it the size of the the smaller metal rod sticking up from the top of the base. You will then need to use duct tape and hot glue to secure a balsa wood rod to the side to the PVC pipe in the opposite direction of the PVC pipe. You can then slide the pipe on top of the small metal rod and secure it with a ring stand clamp.
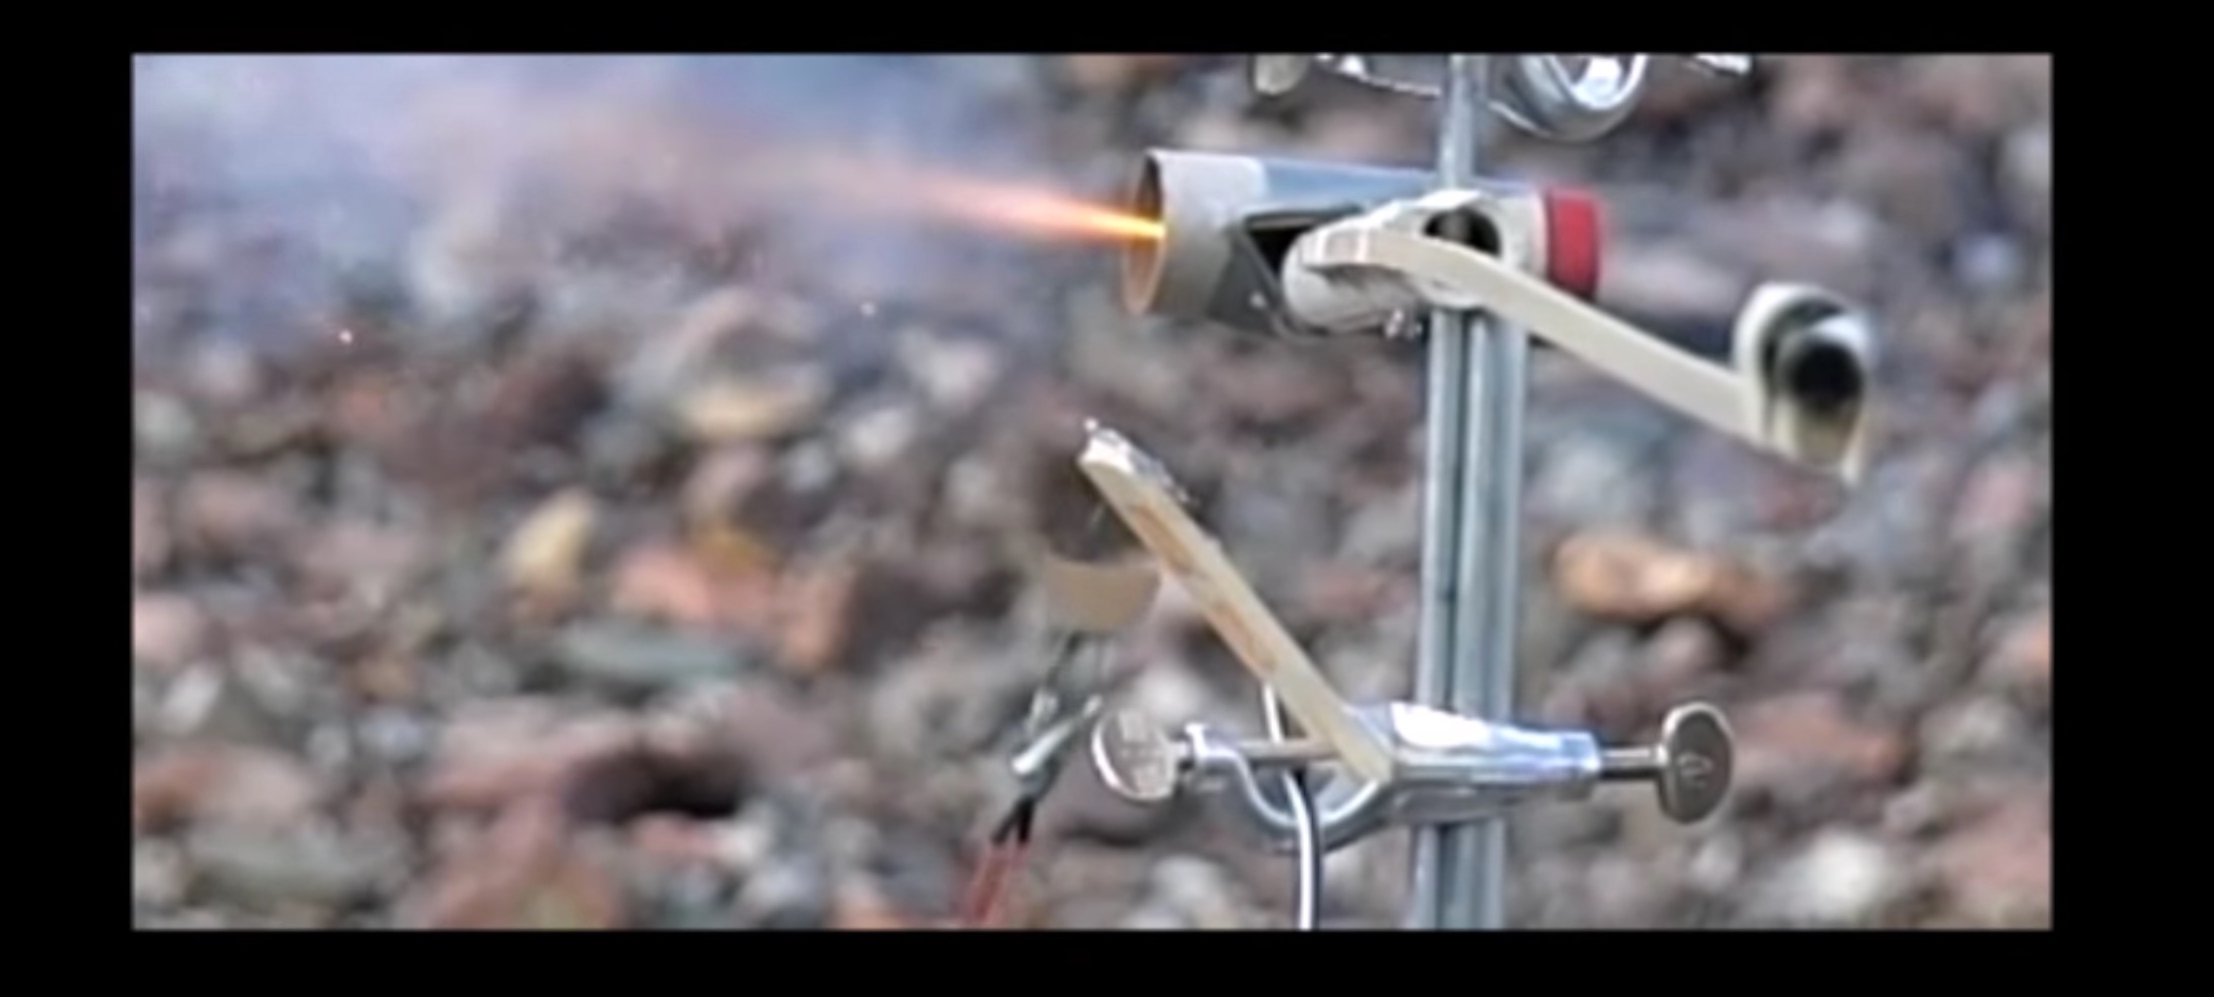
Step 4: Adding the Rocket Mount
To add the rocket motor to the rotor, you will need to find the base of a model rocket. This is a cardboard tube that will hold the rocket motor. You can then attach this to the PVC pipe using duct tape and hot glue. It should be secured in place so it does not change angle while moving.Step 5: Balancing the Rotor
After the rocket motor has been added to the PVC pipe side of the rotor, it will be imbalanced. One side will be heavier. To fix this, glue and tape weights to the balsa wood side of the rotor until it is balanced. The rotor should be able to spin freely now.
These steps will get you started, and you can read the rest of the steps in detail at the original post over at Instructables. After balancing the rotor, the next step is to add the sensor, which is made from a reed switch and a magnet and built onto a broken paint stick. Next, you'll code the data logger, and then set up the rocket by adding a fuse and plug to the motor and connecting the fuse to the igniter box. Then…launch!
Wow! This is a really cool DIY project! Have you ever made anything like this before? Would you consider making this rocket propelled centrifuge? Share your thoughts in the comment section below!
Article Source: Instructables