Here's what you need to know to make this affordable, attractive rustic cedar hot tub. You can many of the materials on Craigslist.
Step 1: Source Affordable, High Quality Cedar Boards
By far the hardest part of building your own hot tub is finding clear cedar lumber at an affordable rate. Any board with knots in it can’t be used because knots are weak places in the wood that might blow out under pressure, creating a huge leak in the side of the tub. Yet clear cedar (considered #1 grade) doesn’t come cheap and is hard to find at most lumber yards.
We used Craigslist to find a lumber yard in our area with plenty of cedar available. The only catch was that it was #2 grade and full of knots. We requested permission to go through the pile to search for clear lumber that could we could use for our project. This is pretty rare — sorting lumber is usually frowned upon at lumber yards, so be sure to ask permission before you try!
The tub we built is 5′ in diameter and 3′ in depth and we knew these measurements before seeking out wood. For your own project, make sure to calculate the amount of wood you will need before buying any as it will save a lot of headache later on.
Additional, knotty lumber was also purchased to be used for a patio fence, hot tub seats, and other tub accessories.
Step 2: Cutting the Staves
The staves are the boards that make up the sides of the hot tub, and cutting them was the first part of this project we tackled. The dimension of each stave is going to depend on the size of lumber you are using and the circumference of your tub. Be mindful that the staves will be connected to the inside edge of the hot tub floor, meaning that the inner circumference will be decreased.
Because we were using #2 lumber we worked hard to get the most out of every board. We paid special attention to the order of our cuts to maximize the amount of usable clear wood. A table saw and cross cut saw were essential for this part of the project.
Step 3: Stave Joinery
We can’t overstate how important the stave joinery is for the success of this project. Seriously. Carelessness or inexact cuts will make it virtually impossible to get your tub water tight.
Building Bead & Cove Joinery
We decided to use a canoe joint (also called a bead and cove joint) for the joinery. Our stock was 1.5″ thick so we used a bead with a ½” radius and a cove bit. We found these measurements left a small shelf on the staves which allowed the joint to rest on them properly. Your router should work fine for this. Each board has to be run through four times to complete the joint, twice on each side.A lip on the joints can be taken care of with a planer to smooth the joint. If you create your joinery correctly, the cedar should swell when water is added, allowing the tub to become water tight.
Dado Joinery
We used a dado joint to attach the boards to the floor. Later in this article we will talk about the depth you will need to create this joint at. Getting it super snug on every stave is super important. We used our table saw for this step, but there are lots of other ways you can do it. It’s worth jigging your saw because this cut needs to be as accurate as possible for maximum snugness. Check each joint to ensure they are being cut consistent.Step 4: Building the Floor
For our floor, we used the cedar that was available, which was 1×6 v-groove tongue and groove. This wasn’t ideal, and we don’t recommend using v-groove with something else is available. Most cedar tubs are built with 2×6 stock which would be a lot easier than what we used.
To build the floor we followed the some technique of maximizing cuts as we did with the staves. We positioned the lumber on the ground so that the whole floor was clear cedar. To make the cut, we made a guide the length of the radius of our tub (2 ½ feet) and used it to draw a circle.
We built the floor joists with 4×4 cedar, using two pieces that were 5′ in length and two that were 3′. These were equally spaced around the tub.
The dado joints were cut to the theoretical perfect length that would give us the length needed to have a whole number of staves around the tub (it’s hard to use half a stave).
Now it's time to assemble the hot tub. Put the staves in place using a dead blow hammer, and then use vinyl-coated cable to hold the hot tub together. For the drain, a basic push-style floor drain like those used in bathtubs will suffice. To heat the hot tub, we like a simple wood stove.
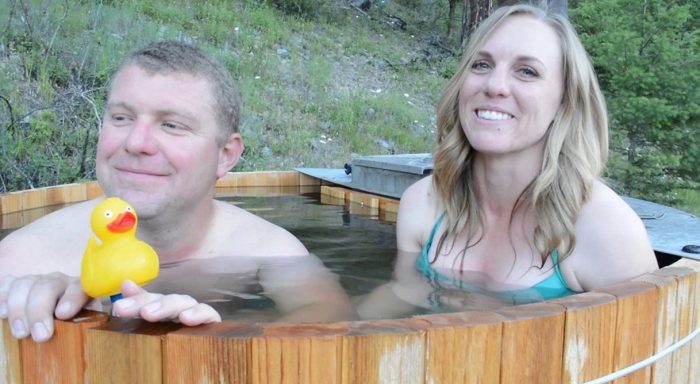
What do you think of this cedar hot tub? Have you ever made anything like it? It's a lot easier to make then you might think, and we can't enough of spending time in ours!
Article Source: Makezine
Hal Funkbass
Sheryl Snyder Gillilan
Thoughts-
The honey do list
Cool! That’s all one needs, nothing fancy
Tami Carlson Jones