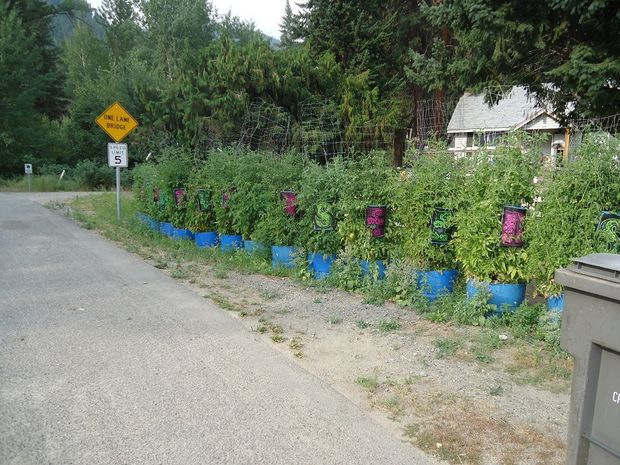
You can purchase different soils, fertilizers, and other gardening tools in an attempt to turn your tomato plants into super vegetables, but that could cost more money than you want to spend. It might not even work. Instead, this tomato “tainer” uses inexpensive materials and only requires a few tools that you probably already own. Once you've gathered your materials, it'll only take a half hour to make this magical tomato grower!
Materials and tools:
- 6″ to 8″ U.V. resistant zip ties
- A Sharpie, or other permanent marker
- A small bucket (We get 1.5 gallon empty food grade buckets)
- A 55 gallon food grade barrel
- A Electric drill, with a 1/4″ bit
- A skill saw, or other saw
- A Jig saw
- A piece of 1 1/2″ PVC, about 14″ long
Step 1
Make sure your barrel is washed out, and well rinsed. If there are two lids, remove one.
We cut about the bottom 6″ off the barrel, this becomes the base.
Next, cut the top 12″ off the barrel, this will be your “pot”
Drill holes all over the bucket, to allow water to wick into the compost.
Place your bucket on top of what was the barrel top in the center, and use your sharpie to mark a line around the bottom of the bucket.
Next, use your jig saw to cut out the circle that you just marked. I suggest cutting about 1/4″ outside the line.
Drill holes in the top piece of the barrel around the hole you have made for the bucket, this will allow for aeration.
Step 2
Place the top of the barrel upside down, on the bottom of the barrel we cut off earlier, and make marks on top and bottom.
Mark both top and bottom (Right under the ridge on the “top” of the barrel, angled down to make it easy, and straight in on the bottom section.) These marks should be around 4″ to 5″ apart.
Drill your holes.
Place the top of the barrel (inverted) on the bottom, match up your marks, and start putting zip ties in, DO NOT ZIP THEM DOWN YET! Once all your zipties are in, you can go around and tighten them.
Step 3
Push your bucket all the way down and place the length of PVC into the open bung.
Fill with soil. Top off your tainer,
I suggest a good top watering before plants go in, and then put the hose into the pipe.
By watering at the root level, you make your plants super happy!
Have you been able to make your own tomato tainers? How did your tomato plants turn out?
Article Source: Instructables


