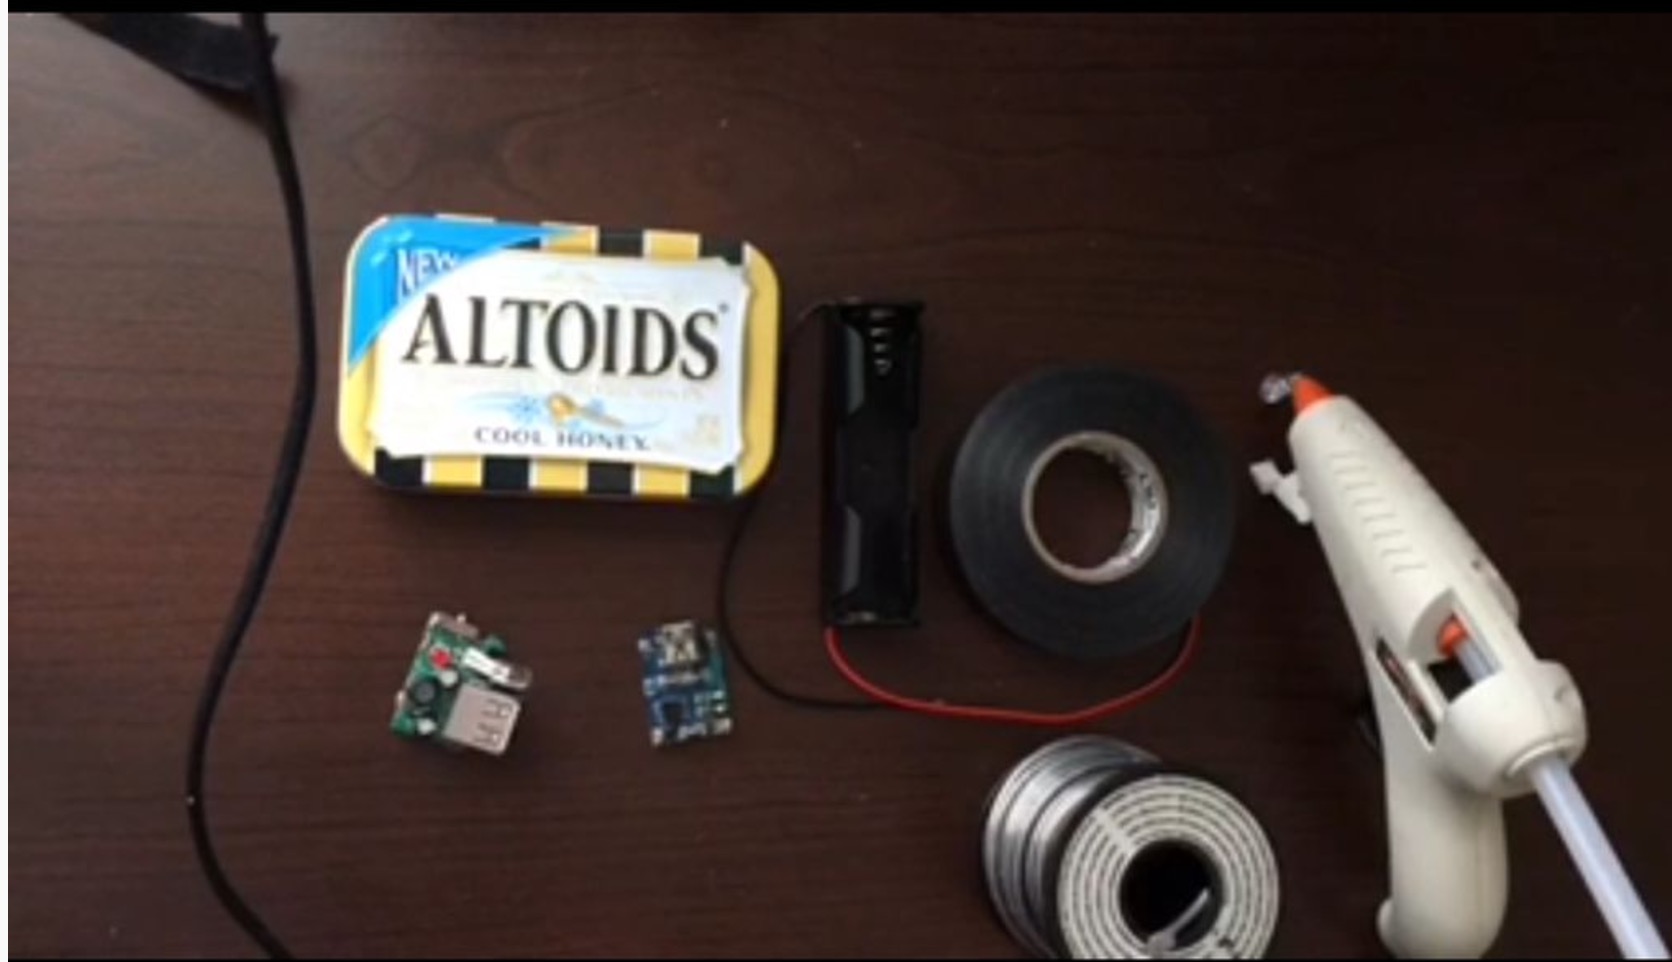
First, you need to gather all of your supplies, which you can find in the original post over at Instructables.
Step 1 – Grab the tin and tape…
Cover the bottom of the tin with electrical tape to keep components from shorting out on the metal. This step you do not want to skip, especially when using Lithium-ion batteries…Step 2 – Knife cuts tape…
Take your knife or exacto blade and cut the tape so it is covering the bottom of the tin only..Step 3 – Drillin'
Drill a hole in the desired spot for your USB Charge circuit. I drilled 3 holes about the right width for the USB female to stick out. Then i lined up the LED and drilled a hole for it.Step 4 – Good scissors cut these tins pretty easy…
Use some good sturdy scissors to cut out the hole as best as you can without making it too big. Filing is next and that will make the size of the hole right.Step 5 – File work, take your time…
Get to work filing the hole to fit the female USB. You want to have to kinda force it in to keep it nice and snug. Take your time and make it look good…Step 6 – Make sure if fits…
Take the USB charge circuit and fit it into the holes you made. Take it back out and set aside for now.Step 7 – More Drilling…
Drill 2 small holes about the width of the Lithium-ion Charge controller and then check the size. Get the scissors and cut the hole, jam the file in there and start working it… You need to be careful again you want the size to be big enough but not too big.
After this, you'll need to solder all of the parts together, and then install the USB circuit by lining it up, so it's flush with the outside. Solder it in at least two spots and then check to make sure it's reliable and secure. You'll also need to install the lithium charge controller using a hot glue gun. You'll also use hot glue to install the battery holder. Once everything is in place, check to make sure everything is working properly, and then get ready to charge your iPhone using this nifty device!
What do you think of this DIY project? Is it something you would make? What do you feel about charging your iPhone using an Altoids tin? Share your thoughts in the comment section below!
Article Source: Instructables