Here's everything you need to make this drift boat trailer. We recommend using a computer-aided drafting program, or CAD, to design the trailer and ensure everything's just right.
Step 1: Inspecting Your Boat Trailer
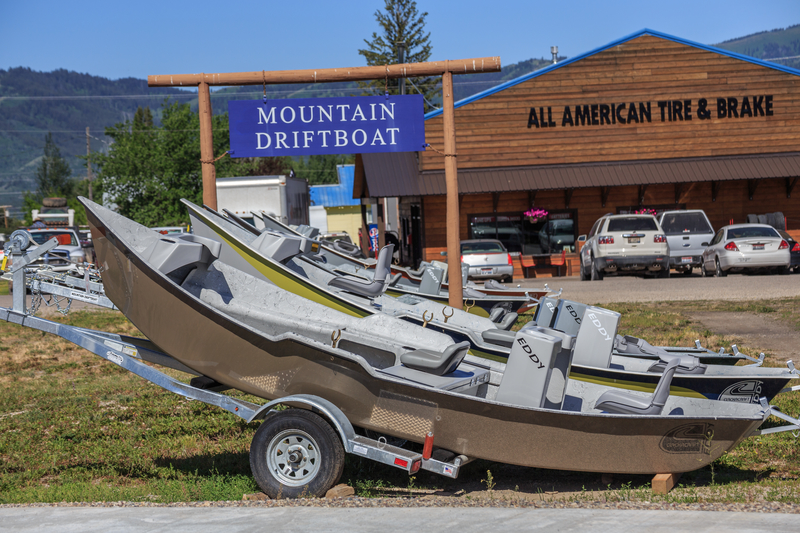
The boat and trailer were manufactured in 1996, so at 20 years old I wasn't surprised to see the trailer showing some rust through the paint. With the boat on the trailer the rust didn't look bad, and I had planned this winter to put a fresh coat of paint on it. After I pulled the boat off to take a closer look, I quickly found that the trailer had a considerable amount of rust and frankly was not safe traveling down the road. When the boat was removed, I was able to see many spots where the trailer had rusted clear through many of the main structural components.At this point I knew a coat of paint was not going to fix this trailer, and it was time for new one. Through my inspection, I did notice that the axle, leaf springs, wheels, etc. where still in good shape and had nothing more than a little surface rust on them. Other than the axle assembly, the trailer was scrap.
Step 2: Measuring the Existing Trailer
Since I had an existing trailer, I didn't have to build a trailer off from the boat dimensions. I was able to take measurements off the existing trailer and use it as a pattern for my new design. This obviously simplifies the design and overall task. There are a few key measurements I wanted to ensure I had captured correctly. The axle and bow rest placement relative to the two main boat supports are critical for proper balance of the boat and trailer. Other than these few critical dimensions, the rest of the trailer I just taped out and captured in some basic sketches.Step 3: Trailer Design
For the overall layout and detailed design of the new trailer I used Autodesk's Fusion 360 product. With Fusion, I was able to easily layout the entire trailer virtually before I ordered or cut any material. Fusion also provides simulation software that allowed me to constrain and load my virtual trailer design to validate that it could easily hold up to 1,000 lbs load. The image attached shows overall deflection at the 1000 lb loaded condition.In the new trailer, I did want to incorporate two design changes from the original. The first was a segmented rear roller system. The original trailer had a single long roller that didn't allow the boat to easily pivot during loading. In the new design I incorporated a series of 5 rollers that would rotate independently allowing the boat to more easily pivot while aligning the boat during loading. The second change added diamond plate landings that would allow you to easily get in and out of the boat while it was loaded on the trailer. Other than these two advancements the new design was a very close replica of the original design.
Step 4: Frame Weldment LayoutFor the first fabrication step I started by cutting the main frame components from steel tubing ( 2in x 3in 0.125in wall). After cutting out the frame components, I laid them out to ensure a good fit.
Step 5: Assembly and Welding of the Frame Tongue
The initial step in welding together the frame is to weld the tongue to the first cross member. To do so, square the two components together (the tongue is perpendicular to the first cross member), tack weld the components, recheck squareness, and then complete by welding around the mating surfaces of the two components. Once complete, add the two cross angle support stiffeners. With the tongue welded together, it will be the basis of the rest of the trailer. Take time to ensure squareness and fit of these components, as the rest of the trailer will be based off of this initial assembly.Step 6: Completing the Frame Weldment
Now that we have the trailer tongue assembled and welded together, we can layout the rest of the frame sections. You'll want to shim the entire frame up off the ground so that you'll be able to both clamp and level the full frame. To shim the frame I used lumber to first get the structure off the ground, and then used small pieces of sheet steel ranging in thickness to shim up and down each corner of the frame. Using a level, a square, and clamps, work your way throughout the frame shimming and positioning as needed to assemble and fixture the whole frame.You'll have three goals in assembling the frame:
Ensure that the whole frame is level (both down the length of the trailer and across the width).
Ensure that all right angle joints are square. I use a large framing square, which works quick well.
Ensure that all joints are assembled tightly together.
Once you have the entire frame in position, cross tape both far corners from the tongue to ensure that the entire frame is square. With the whole frame tightly clamped together, you can use a large hammer to adjust the frame such that you get the same measurement when cross taping between the tongue and far corners.
After this, check the joints and make sure that the components of the frame are level. Then, tack weld the entire structure together and then weld the frame. Next, weld the axle to the frame, and after this, assemble the fenders and steps. Use a saw or torch to cut the shapes, and then grind them to fit using a CAD program. Next, create a multi-segmented roller system by constructing six mounting tabs and assemble them using a stainless steel 3/8 inch solid rod that will pass through both the rollers and the tabs. After this, clean and prep the trailer for painting, and after you've painted it, put it all together. To do this, chase the wire harness through the frame using the cable and routing guides you installed earlier, and then complete the wire connections.
All done! All that's left to do is test your newly constructed trailer. Have you ever built your own boat trailer? How did you do it? Share your thoughts in the comment section below!
Article Source: Instructables