Here's the step-by-step process for restoring a vintage pocket knife. We're going to dig up all those old pocket knives we have laying around the house and bring them back to life!
1. Give the knife a good wipedown.
The first thing you’ll want to do is wipe the knife down with a wet paper towel, including the space between the scales (the scales are just the outer pieces of the knife handle — between them is where the blade lies). This will help you know what might just be loose dust/dirt, versus rust and grime that needs some elbow grease to remove.
2. Spray with penetrating oil.
Next you’ll spray the knife with penetrating oil, particularly at the blade joints. Most vintage knives will have build up there, and will therefore be a little creaky on opening and closing the knife. This is a pretty easy fix with penetrating oil. Just spray a bit, let it soak, wipe it off with a polishing cloth or even paper towel, then rinse and repeat as needed. On my knives, I sprayed at the beginning, and then again at the end as a closing step. The difference is rather noticeable, particularly on the Frontier. It was a grind to get the blades open beforehand and now it’s a breeze.
3. Dip sandpaper in Hoppes No. 9, and go to work on the blade.
I started with 320-grit wet/dry sandpaper, dipped a small piece in the Hoppes No. 9 (which I had poured into a small dish), and went to work rubbing the blade. This cleared the majority of the grime after a few minutes. Do know it takes some elbow grease and real scrubbing to get it all. Then, I switched to 400-grit, and scrubbed again. Use a cloth to regularly wipe away the oil and grit, and repeat the process until you’re happy with the product.
Make sure you get all the nooks and crannies that you can with the sandpaper, including between the scales.
4. Using a brass brush, clean the hinge and the finer grooves.
Next, you’ll use the brass brush to get into some of those harder-to-reach places. I dipped the brush in the Hoppes No. 9, and scrubbed the hinges again, as well as between the scales. This gets some of the finer rust and grimey particles.
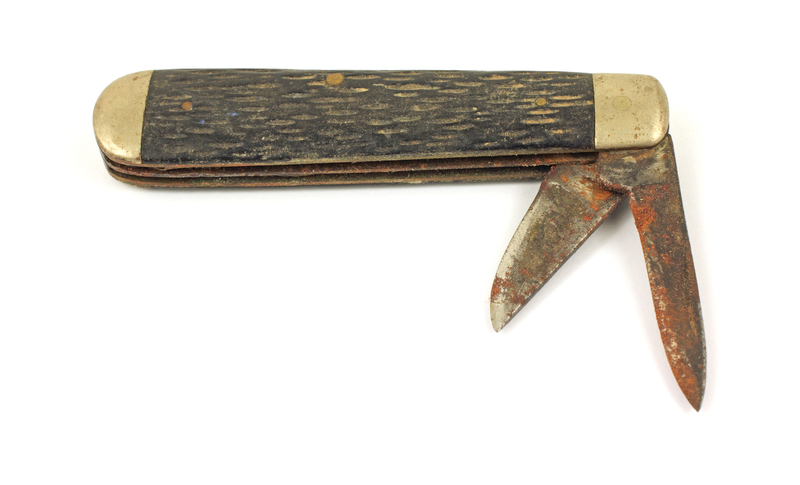
If you get a knife that needs cleaning on the scales — particularly on a textured surface like this one — the brass brush comes in handy as well.
5. Wipe away all the oil with a cloth.
After all this cleaning and scrubbing, the knife will be oily from both the penetrating oil and the gun solvent. Using a cloth, wipe away the oil.
6. Sharpen blade as needed.
One of the knives I bought was clearly recently sharpened, but the other was pretty dull. Use your judgment, and give a good sharpening if needed.
7. Apply polish.
Finally, apply a nice metal polish to the steel blade when you’re all done. It’ll shine like new! (Okay, maybe not quite like new, but darn close!)
We love how simple this restoration process is. Too often, people toss items simply because they're old and possibly rusty or otherwise not in the best shape. This proves that many things can be salvaged if you just have a little patience!
Article Source: Art of Manliness
Thomas Coffman