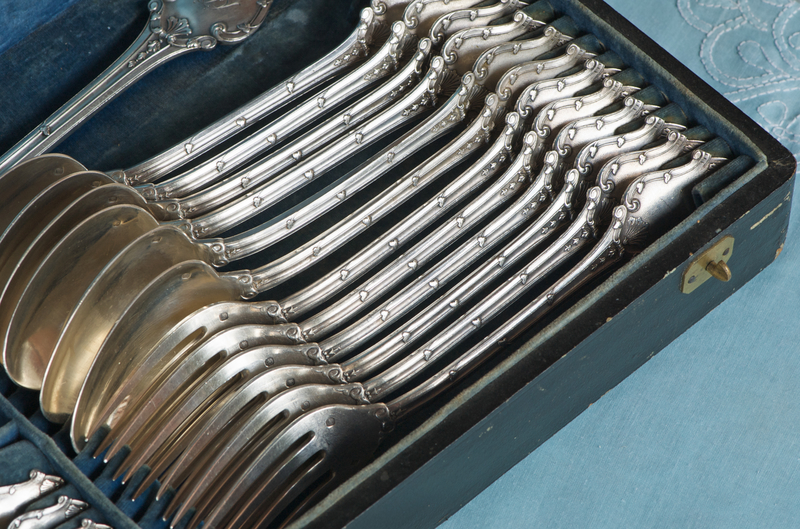
If you're currently searching through your house or frantically asking your family members to find their antique silverware, don't worry! You can find sterling silverware at thrift stores or online. One important thing, though: Make sure the silverware is sterling silver and not stainless steel. It should specify on the back of the item.
After you've found your piece of silverware, follow the instructions below!
Things you will need:
- Spoon (or fork) of your choosing – make SURE it is sterling silver
- Metal cutter, hacksaw, or jewelry saw
- File or sandpaper
- Dowel or ring mandrel
- Paper
- Pen
- Hammer or mallet (optional)
- Butane torch (optional)
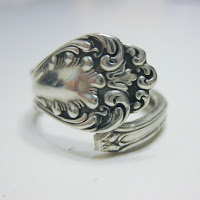
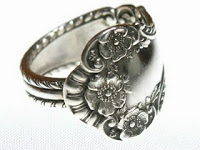
1. The first thing you are going to want to do is to decide what type of ring you want to make. You can either make one that wraps up your finger (top image), or you can make one that wraps around itself (bottom image).
Type 1:
Photo from Kirsten Danielle Design
Type 2:
Photo from Kirsten Danielle Design
2. The next thing you will want to do is to measure your finger. One of the easiest ways to do this is by simply cutting a strip of paper, wrapping it around your finger, and marking where it overlaps. If you are making the type 2 ring, add an extra 1/4 in or so for the overlap.
3. For this next step you will need your saw or metal cutter. If you are making type 1, cut the handle right above the bowl. For type 2, cut the handle at whatever length you measured in Step 2.
4. File the cut end with either a metal file or a coarse grit sandpaper.
5. Now comes the fun (or frustrating!) part – bending the spoon. There are several ways to accomplish this. You can bend it around the dowel using shear force, you can hammer it around the dowel, or you can use a butane torch to heat it up before you bend it.
If you do use a hammer, I recommend wrapping some sort of cloth (a dishtowel folded in half works well) around the head of the hammer and securing it in place with a rubber band.
Let us know in the comments below if you try this DIY!
Article Source: Kirsten Danielle Design
Yeah,thatll help ya survive,,,,