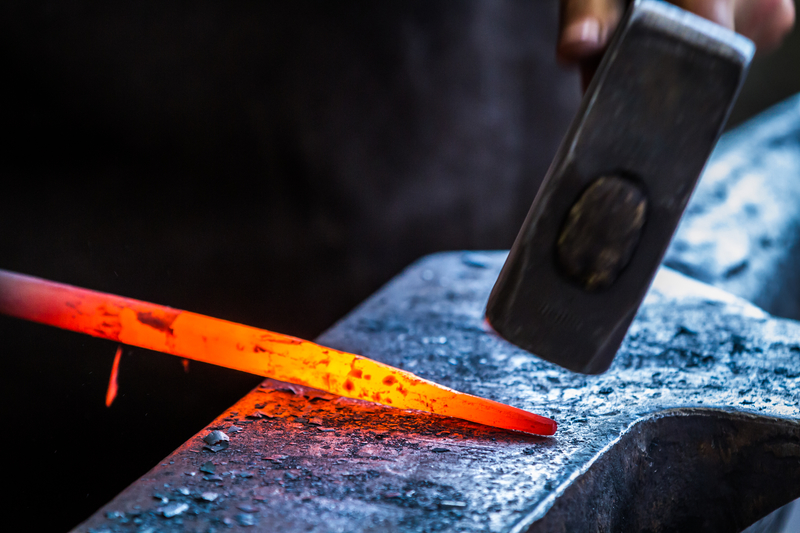
It's important to remember that this project is not for the blacksmith newbie. If that's you, then it might be best for you to create this anvil with a friend who is more familiar with blacksmithing. Plus, it's a good bonding opportunity!
You can find the materials at most standard scrapyards for a fraction of the anvil's retail price. You can also ask your friendly neighbors if they have any old objects that you can salvage steel from. Often times, the materials we need for DIY projects are right around us. Once you have your materials (see step 2 for more), you're ready to get started!
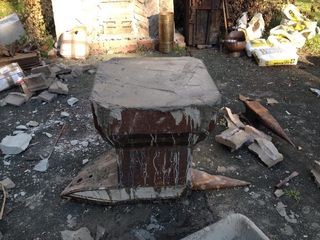
Step 1: A Note on Concrete Filled Anvils
Anvilfire.com has some great points on why not to use a concrete filed anvil.
The trick then, is not to rely on it too much. You want to build an anvil that would work even without the concrete. It is there mainly to add weight and solidity, and deaden noise.
Step 2: Acquiring Materials/Skills
On this design I need a plate of steel that is 1 inch thick, 8 inches wide, 18″ long, Along with some assorted plate and pipe. For the shell, I’m going to use about 16 ft.² of 16 gauge sheet steel. I'm going to use a whole lot of rebar to reinforce the shell. For the filler, I'm going to use about 640 pounds of concrete.
As for tools, you're going to need:
Some sort of welder,
An angle grinder,
Something to cut the sheet steel with, such as an acetylene torch, plasma cutter, tin snips (not advisable), a bandsaw, or a crap-ton of cutting wheels for the angle grinder.
The main other thing that you need, is to be a competent welder.
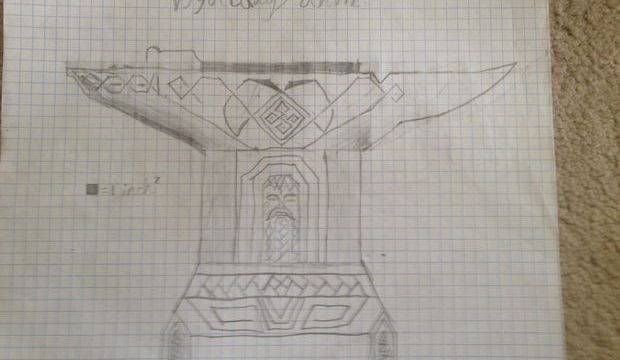
Step 3: Designing Your Anvil
I would suggest drawing out your own, but feel free to use my schematics if you like (but no plagiarism please).
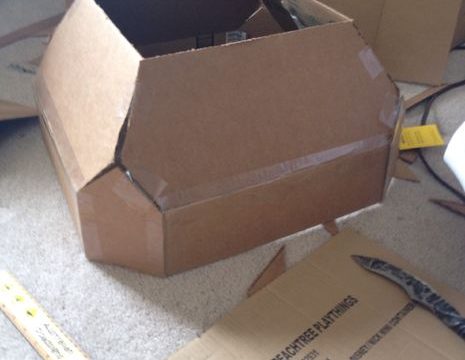
Step 4: Make a Cardboard Model
Whenever you're making anything out of sheet metal, it is advisable to make a cardboard model.
Step 5: Cut Out the Pieces
Trace your patterns on the steel, and cut ‘em out
Step 6: Weld'n Time
Basically, you just slap it together the way you did with the cardboard model, but with steel.
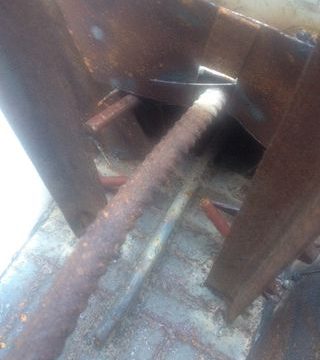
Now for one of the most important steps, the inside supports. You want at least five really heavy duty legs on the bottom of the main plate, with a few more on the horn. Then just go crazy and weld rebar onto every available surface.
Step 7: Fill'er Up!
Just flip it upside down and fill that thing up with concrete.
Step 8: Make It Perty
Just grind until you've burned out the motors in all your angle grinders.
Let us know if you were able to create your own mega anvil! Do you have any advice for others who are looking to complete this project?
Article and Photo Source: Instructables
Mark S Hickman
Jordan Chapman
I just got done blacksmithing an hour ago
I have 4 different anvils..all rescued from the dump.. lol
,, Chuck Irving,, ideas,,,,
Logan Horton
Maxim Merithew
Curtis. Sounds cool.
Get rid of the dam pop ups can’t even read the story
Fashion up one of them Skyrim anvils… Steal a sweet roll.
Ken jones
Austin Lewis.
Not a bad idea
Chris Maybury
Mark Beltran
Chris Zurga