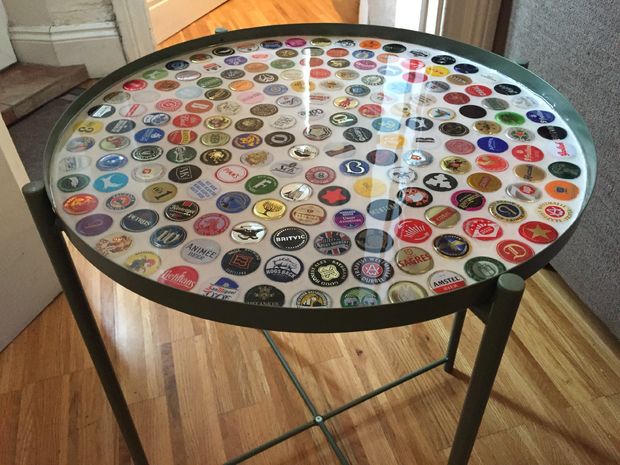
The most time-consuming step of this entire project is collecting the bottle caps. The creator of this table used 182 to be exact, but it varies based on the size of your chosen table. Once you've completed the table, you might even want to make 2 to display on either sides of your couch or next to patio furniture outside. During your next gathering or party at your home, I guarantee it'll become a conversation starter!
Step 1: Collect Your Bottle Caps!
Ironically, I don't even drink beer! However I had lots of willing help from friends and family. I also sourced eBay for some rarer caps to ensure a variety.
Step 2: Find Your Table
Other people have said that square or rectangular tables are easier to work with however I wanted a circular table to compliment the shape of the caps.
I eventually found this GLADOM table in IKEA which was perfect. It has a removal tray top as well as a large raised edge.
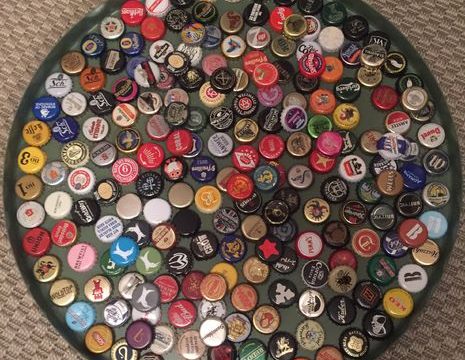
Step 3: Plan How You're Going to Arrange Your Caps
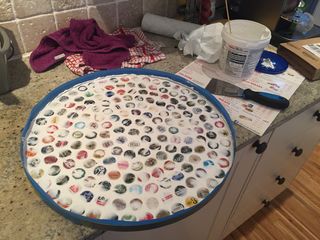
I wanted the table to have all unique caps so I went through my large bottle cap collection and sifted out those that I wanted to use. I then put them all on the table and decided on layers of circles.
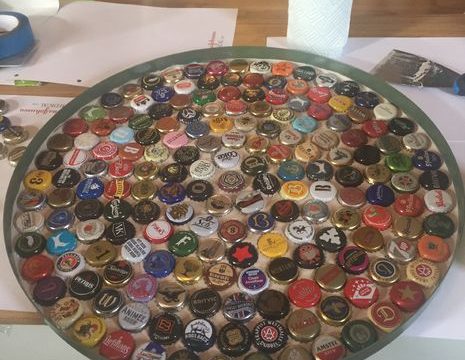
Step 4: Glue Caps to Table
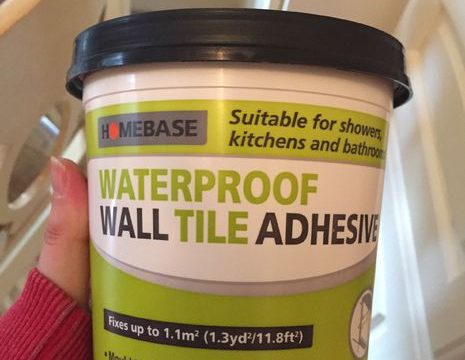
Firstly make sure your table and caps are clean. I used Homebase tile adhesive for this. I knew I was going to grout over the top so it didn't really matter if the adhesive is an odd colour or if the surface is uneven.
I spread a thin layer (around 2-3mm) of tile adhesive across the surface of my table. I used a metal paint scraper to get even coverage. I then pushed the caps into the adhesive. Be careful when pushing the tile adhesive up to the edges of the table. Don't push it so high that you won't be able to cover it with grout when it's dry. This will need at least 24hrs to dry.
Step 5: Grout Your Caps
I applied masking tape all around the inner edge of my table to the level at which I wanted the grout to sit.
Next came the grout. I used unibond tile grout, pre mixed in white. Give the grout a good stir and then apply a dollop to the table.
Once the table is covered in grout, use a damp grouting sponge to smooth out the grout. Wet the sponge, smooth across the table in circular motions, rinse and repeat until the caps are visible.
I noticed that some small pockets had formed in the grout. To remedy this, I just took a small amount of grout on my finger, pressed it into the hole, smoothed over with a damp sponge again and left to dry.
Once your grout is completely dry, polish the caps with a clean cloth to remove any excess.
Step 6: Apply the Resin
Your grout has to be completely dry and free of any dust or dirt. Your table needs to be leak free. There's a random small hole in the side of the GLADOM which I remedied with masking tape.
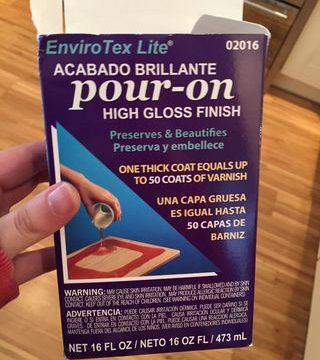
I used envirotex lite pour on gloss resin.
It helps to warm up the bottles of resin and hardener slightly so that they're less viscous and easier to pour. I submerged them in a saucepan of warm water.
I used two cheap plastic measuring jugs and a silicone palette knife for mixing. I measured 200ml of the hardener first and then poured 200ml of resin on top into the same measuring jug. The amounts have to be exactly the same or your resin won't harden. You stir this combined mixture for two minutes. You then transfer this into a second measuring jug and stir for another 2 minutes.
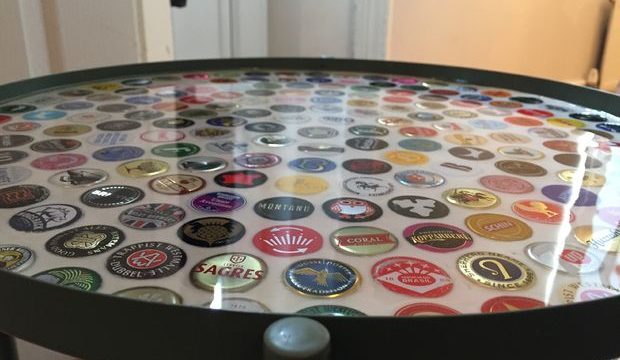
Once you've completely mixed you have to pour immediately. I started in the centre and using the same silicone palette knife I mixed with to smooth the resin out to the edges.
When your resin is poured you will see bubbles. These are easily remedied by blowing over the surface of your table through a straw.
I then kept checking the table every 15 mins for the next 1-2hrs as small bubbles did keep forming front the same few spots
The resin then needs to dry for 24-72hrs. It needs to dry in a warm room free from dust as much as possible.
Step 7: Reflections
All in all, this project went really well. I'd recommend using a plastic card instead, just to minimise trauma to the surface of the caps.
Take great care with your resin. Be very mindful to mix it as per the instructions and use exact amounts.


Have you made a bottle cap table? Let us know how it went in the comments below!
Article and Photo Source: Instructables