Before finding this DIY project, you may have researched the manufacturer of your current wood cabinets only to find that they don't have an option with glass. If you love the wood of your cabinets, this process allows you to keep them, but still gives you the glass addition you want. Take a look at how to make it happen:
Step 1: Measuring
Determine the depth of the mortise. This can be measured either on the top or the bottom of most doors. If you happen to have a door where the door is mitered at a 45° like a picture frame, you may have to do a little exploratory surgery. Pick a spot on the back of the door and cut back ¼”. If you do not find the edge of the insert panel, continue removing in 1/8” increments until you do.
Step 2: Marking
On the back of the door, mark the depth with masking tape to determine the line you want to cut. I recommend putting some cardboard down to prevent the possibility of scratching the face of the door. Clamp a straight edge to the back of the door along the line you want to cut. This will serve as a guide.
Step 3: Cutting
Slowly and carefully, cut the line to the same depth as the reveal between the back of the door and the insert panel. Be sure to look for small 23 gauge pin nails as you are cutting. The frame and the insert can expand and contract at different rates sometimes splitting the seams of the frame or exposing unfinished wood on the insert panel.
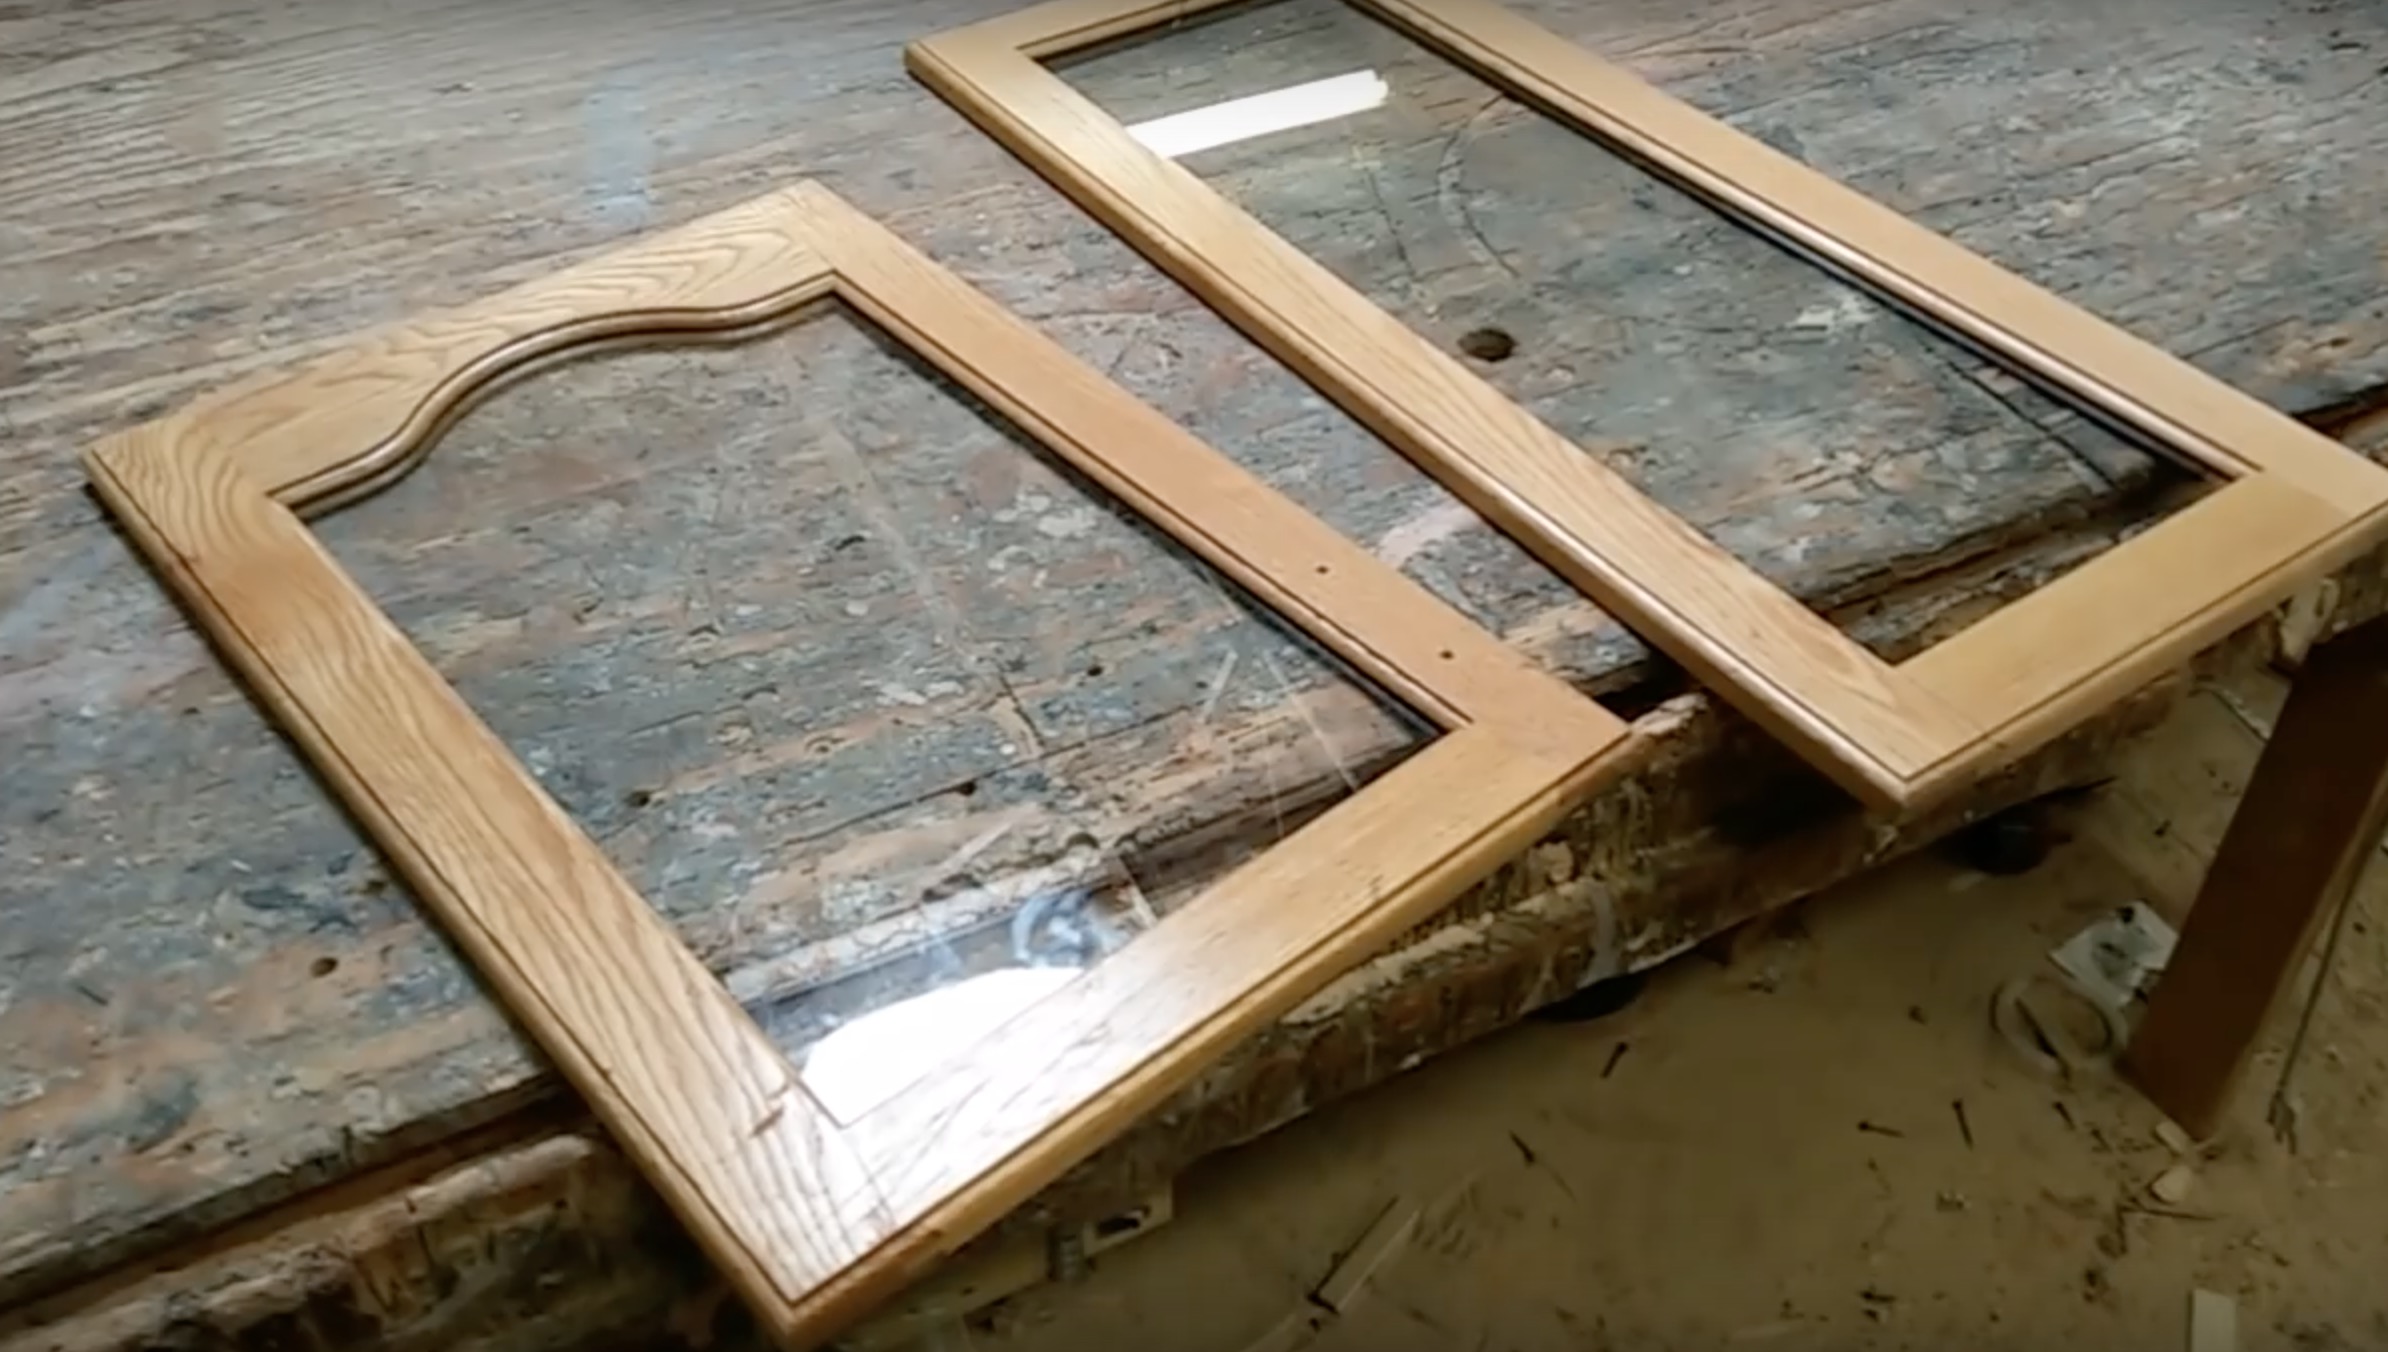
Step 4: Hand Work
If you have an arched or cathedral top door like the one shown, a curved cut is required for that section. Mark the approximate line with tape being careful that you are not going to cut too far back into the door. Make a rough cut with the oscillating multi-tool and clean it up with a good sharp chisel.
Step 5: Remove the Panel
At this point, the panel should pop out. If you are getting any resistance, and all the edges are clearing the frame, you may want to flip the door over so the front is facing you. Using a very sharp razor knife, gently and carefully run it along the seam where the insert panel meets the frame. There is a possibility that finish is causing the panel to stick and by scoring that seam, you will protect the front of the door from possible chipping.
Step 6: Touch Up the Raw Edges
Once you have the center panel out, use a stain that matches closely or even one of those touches up stain pens to treat the raw edge. You will see very little of it, even when the door is open, but a raw edge has a tendency to stick out.
Step 7: Install the Glass
Drop in your glass. This can be attained from a local glass shop or even the big box home improvement store.
You can use glass clips to secure the glass or silicone. I prefer silicone because it rattles less. However, the glass clips are easier and you don’t have to wait for it to set.


Have you been able to convert your traditional wood cabinets into ones with glass? Let us know how it went in the comments below!
Article Source: Instructables
Video: sdmcustom woodworking
Jaime Hudson
And what better place to get home improvement tips than from a survivalist group?