To get started, be sure you have the following supplies:
- 2-gallon bucket with lid
- light fixture mount
- light fixture cover
- attaching bolts
- light fixture
- a bulb of your choice
Directions
- Gather Supplies listed above
- Attach the fixture mounting to the underside of the lid using 2 small bolts
- At the same time attach the fixture cover on the outside
- Wire a short cord to the light fixture
- Feed the cord into a hole made in the bottom of the bucket
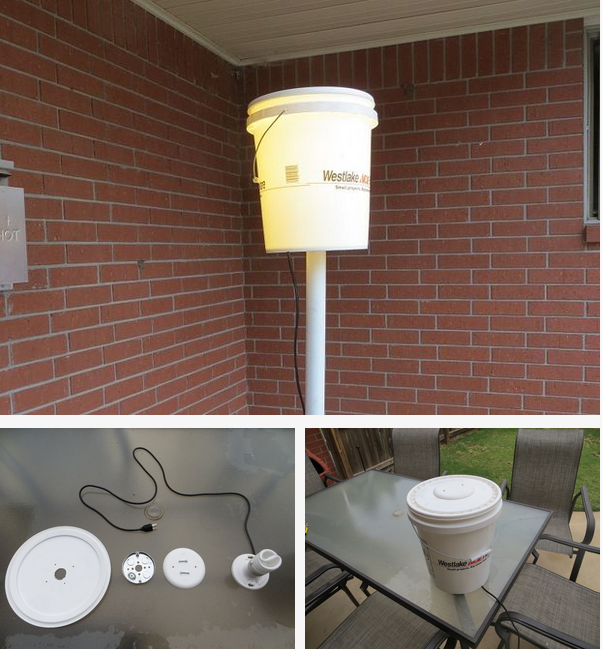
- The finished Camp Light / Light Bucket
To mount the bucket on a 1 1/4 PVC pipe
I made a female receiver using a plastic quart bottle and Plaster of Paris – I would recommend Auto body filler. I placed a short piece of pipe at the top of receiver to stop the pole from going all the way through. Using screws I attached the receiver to the bottom of the bucket after making a hole in the bottom. Note: The square hole is for the power cord.
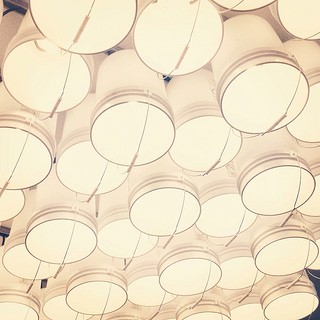
What I would recommend is getting creative with your buckets. Painting them up ith some unique designs can give them a whole new look. You can also buy your buckets in different colors to create a different effect when it’s illuminated. Also, another way to go is to utilize a bunch of these and hang them from the ceiling of a workshop. It's a cool way to provide light and adds another conversation piece to the work space.
If you do decide to make one of these, share your photos with us. We would love to see how they turn out.