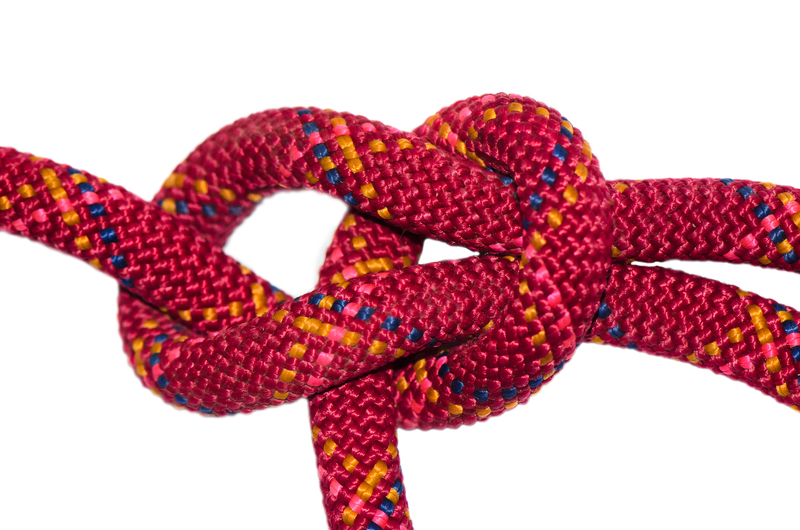
When we have to survive off the land, we just don't know what could happen. This is why it is best to have skills for any type of situation. Knot tying skills are very important for survival. However, knowing how to tie a one handed bowline might just be the knot that saves your life!
The Steps For Tying A One Handed Bowline Are:
Wrap line around your waist so that the working end is on the opposite side of the standing part
Ensure you have at least six inches of line past where you’re gripping.
Without ever releasing line from your hand, bring working end over standing part
Now around standing part back into your chest, creating a loop on your wrist
Pass line around standing part and to yourself
You should now have made a wrap around the standing part and be holding the working end
Continuing to grab working end, pull your hand towards you and out through the loop on your wrist
Once through the rope, pull to tighten bowline
You can also back up this knot after it’s tied by simply adding an overhand knot with the working end.
This knot is really simple making it great for an emergency. It is almost hard to believe that this knot would be sturdy enough to hold and keep you out of the water but it works. If you are going to learn how to tie any knot, it should be this one. You never know when you might need it!
To learn about tying a one handed bowline, you can visit:

Learned that when Dale was in scouting in fact know quite a few knots
That is Not. A bowline