Let's first look inside the home to see what we can create in this space. Using concrete blocks inside the home for function and design may not be something you have ever considered but once you see these projects you will see why we are recommending it.
Before we get started however we must throw in some tips because while all concrete blocks may seem the same one thing I have learned is that there are concrete blocks and then there are concrete blocks…
The rougher, homelier ones like cinder blocks have coal cinders mixed into the concrete; others are made with finer mixes and more pleasing shades and textures of concrete, in a variety of shapes and sizes.
Concrete blocks are where aesthetic meets function and budget. Take a look at some of these amazing ideas.
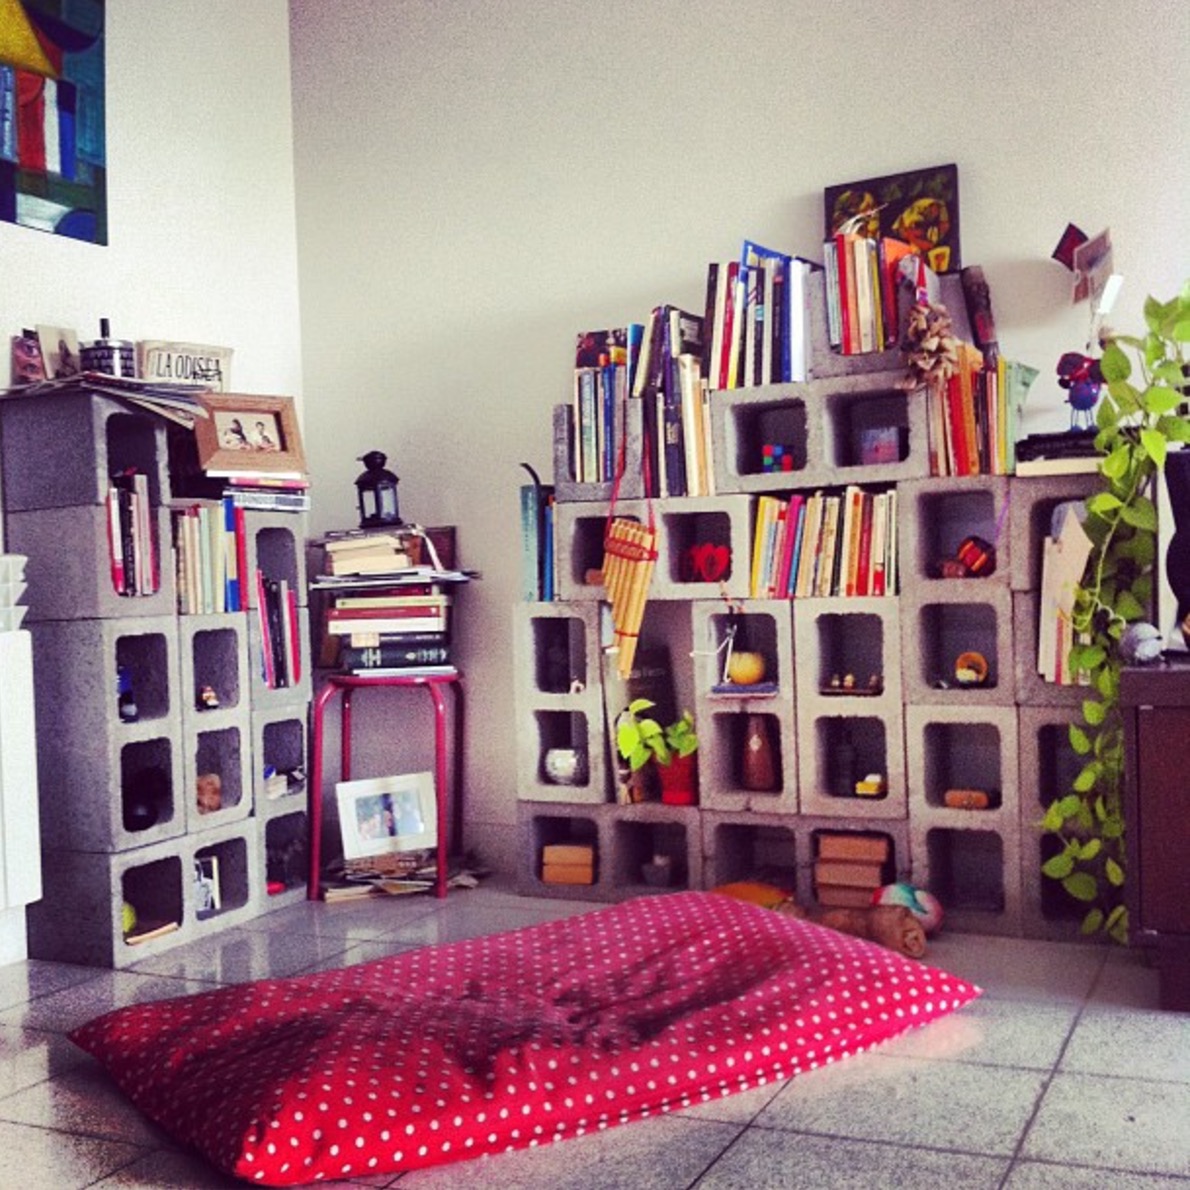
Stacked Storage:

The steps for this are simple and well, quite obvious. First, you will want to decide how tall and wide you are going to want your shelving unit. Then start stacking. What I love about this project is that you can stack them in any pattern that you desire. This is where your creativity can shine.
One thing I would recommend is once you have your shelving unit stacked just right I would seal it together with a concrete bonding adhesive. Unless you prefer the versatility of being able to switch it up once in awhile then leave it as it and have fun with it.
Solid Bench

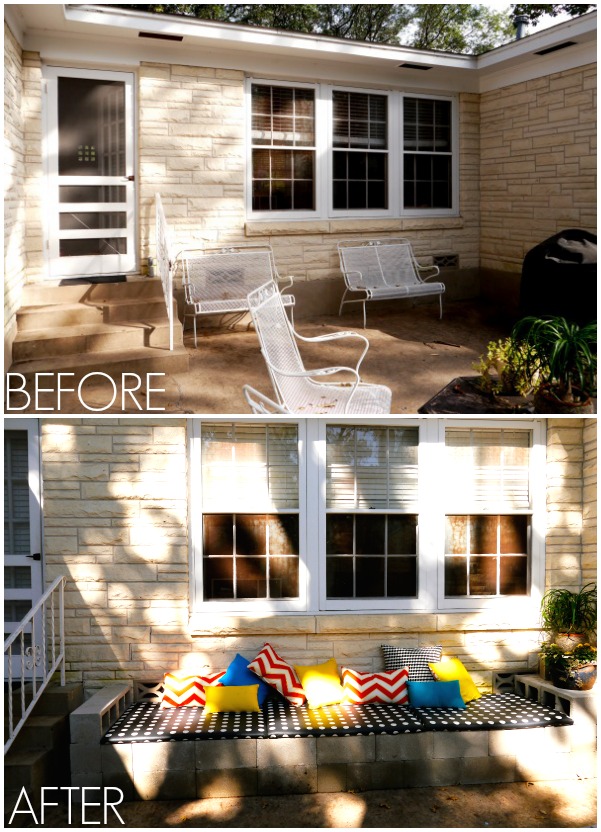
This project will require a tad more work than the one above but the outcome is totally worth it. You can decide to hit up the local store and purchase what you need or go the full DIY route and make it all from scratch. I say opt for a good mix of both. Here is a small list estimating what will be needed- again it all depends on how big you want the bench.
- 75 cinder blocks
- 1 piece of plywood
- 2.5 yards of 1 in. foam
- 2.5 yards of batting
- 3 yards of fabric
- Stapler and staples
- Pillows
First, you're going to need your bench base so we recommend before doing this you ensure that your ground is level. If not- start leveling. Not sure how to do that? Check out this article.
Now that you have that accomplished let's get to stacking. Again this all depends on how high you want the bench. Adding armrests is also a great idea and adds more comfort to the project. Once all of that id one it's time to cut and cover the bench seat. This is where that plywood comes in handy. Once you have it cut to specifications you will want to add the padding and cut and cover it with your outdoor fabric. I also added a layer of scotch guard to help the rain etc to roll right off the material.
Once you are done with that simple place the seat cushions on the bench and add in your pillow and you are done. A friend of mind used extra concrete blocks and plywood to make a back to his outdoor bench since his was out in the open, just another option if you wish.
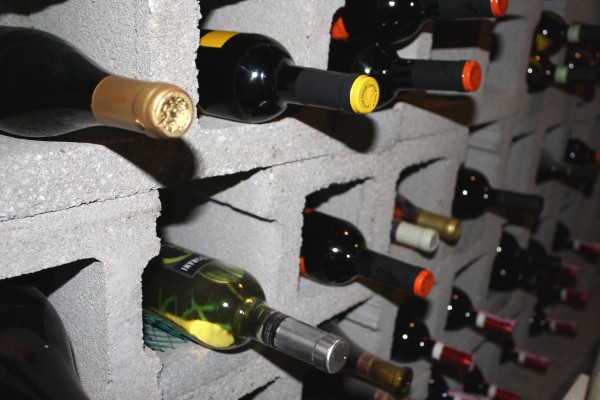
Concrete Block Wine Rack:

This is one of my favorites. Mainly because it allows us to have a wine room without the added expense of something fancy. This photo is pretty self-explanatory on how to accomplish this and again I would recommend the concrete adhesive. My favorite thing about this set up is if kept in a cold room the concrete bricks will hold in the chill.

Sorry, but if you need instruction about how to stack concrete blocks you failed kindergarten.