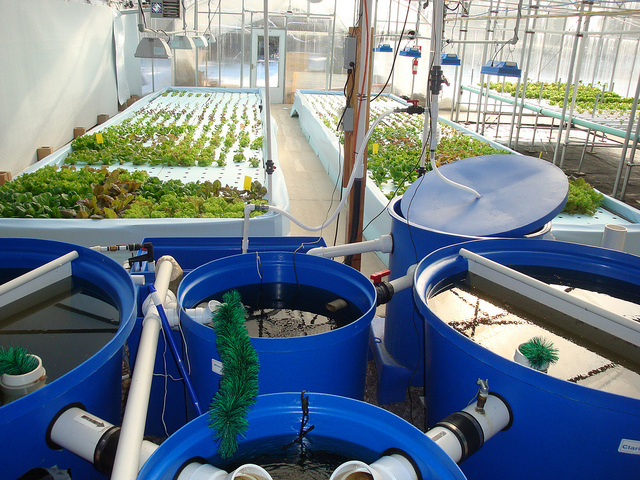
Here are the instructions for how to make your very own basic aquaponics system. Of course, you'll need to gather all of your materials first, which you can find in a concise list in the original post over at Instructables. Once you've done that, you just need to decide exactly how you want your system to look and then make a detailed plan to guide you. Then you're ready for the fun part:
Begin Construction of the Bucket Portion
We first started by taking the handles off the buckets and then by cleaning some of the trim from the buckets. We removed the trim by slicing it off by combining a wood burner and an Exacto blade. We then lined up and marked the buckets by where we wanted to connect them. We used a string and a marker to guide an even cut around the grow tray bucket to make it shorter. Lastly we lined up our buckets for how the water would flow.Add in Plumbing
In all the buckets, we inserted the uni-seals with an expanding lip design, to create a complete seal all the way around, as the pipes go through.Add Water to Test System
We began by adding water to the grow tank, testing the bottom seal to ensure that nothing leaked. Then as the seal was tested, we put water into the rest of the system to ensure the seals were tight and no water would flow outside.Began Working on Grow Tray
We cut the 5 gallon bucket 5.5 inches from the bottom all the way around. We then attached the Media filter pipe an inch and a half from the edge. The media pipe is there to prevent any of the grow media from getting into our bell siphon area. We did not glue the media pipe down, however we should have as we encountered a few issues with media getting into the pipe as we got it all settled in. The media pipe had lots of holes drilled into it, to allow ample water flow, but it's important to make sure the holes you drill are smaller than the media that you place into the grow tray.Construct Bell Siphon
In order to create the bell siphon, we used a 3 inch pipe (black) and 1 inch pipe (white) to create the suction. In order to see the process in action, we created an acrylic covering, that also functioned as the seal in order to get the Bell Siphon to activate. There were multiple holes drilled into the bottom two inches of the bell siphon to allow water to pass through, as well as a single extremely small hole, in case the system failed, it will drain out so the plants will not drown. We originally ran into some siphoning issues, getting it to activate and to stop, so we 3D printed a small funnel like piece that decreased the hole's radius to just half an inch in order to create more pressure inside the pipe, allowing for easier flow.Adjust Bell Siphon for System
While constructing our Bell Siphon, and after dozens of tests, we noticed an issue that there was too much pressure, so the siphon wouldn't “break”, or reset to clear the siphon and begin filling it up again. To combat this, we drilled a hole at the top and attached an air tight tube, and ran it along the base of the pipe to the hole line near the bottom. This allows for more opportunities for air to enter the system and “break” the siphon. We experimented with adding cuts on the sides, however this just added air into the siphon system, but not enough to break the siphon. It added enough air to slow it down, but not enough to stop it.
After this, it's time to add seeds for the plants and also condition the water to get it ready for the fish. Once you add the fish, try to keep it set up so that there are 3 gallons of water per inch of fish.
Have you ever created an aquaponics system? What did you think of it? Share your experiences — as well as any tips you have for creating an aquaponics system — in the comment section below. We'd love to hear from you!
Article Source: Instructables

Scott Patton