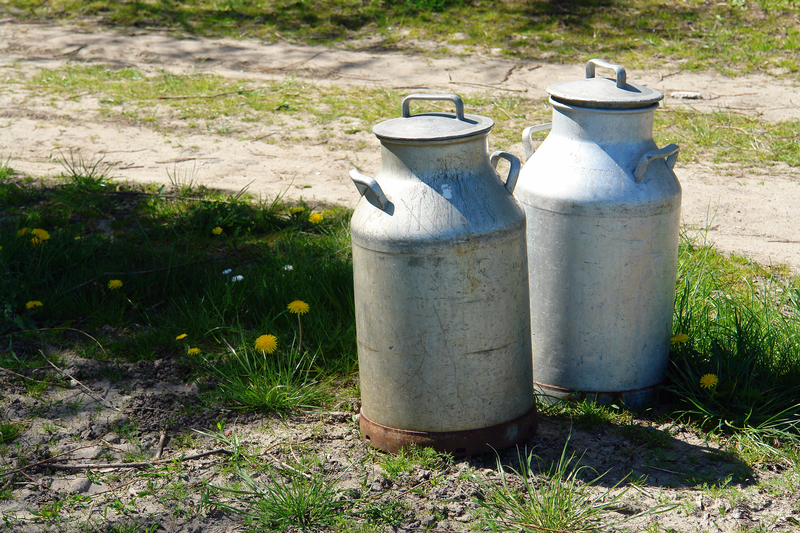
Any one of the methods below will give your milk some longevity. I bet you never thought that milk could save your life in a crisis. It's recommended to pasteurize the milk before starting any of these preservation techniques, though. This extra step removes the bacteria and allows it to last longer.
Salting
Though you probably don’t want to salt your milk before you can it, you definitely want to salt your butter, cottage cheese and other products.
Dehydrating
You need to have special equipment such as an atomizer that won’t come cheap. You will also need a ton of milk just to yield a pint of dehydrated milk. Skip this idea and just buy powdered milk.
Freezing
Yes, it’s entirely possible to freeze milk but I recommend not doing so for a couple of reasons. First, if SHTF you probably won’t have the electricity to keep the freezer running.
Second, frozen milk is fine to use but it often gets a grainy texture to it.
Canning Milk
To can milk, start with extremely clean milk. Clean the udder, the buckets and all the equipment in addition to the jars. I recommend pasteurizing, too.
Wash your jars in hot, soapy water and rinse them well. Keep them submerged in hot water until you’re ready to use each of them.
Fill each jar with milk, leaving a half-inch at the top for headroom. Clean the rims of the jars thoroughly and put the sterilized hot rims and rings on them. Put them in your pressure canner and fill with the recommended amount of water. Place the canner over the hottest part of the stove, on about medium.
Bring the pressure to 10 and cook quarts for 25 minutes or pints for 20 minutes. Make sure the pressure stays at 10.
Pressure canning brings the milk up to a safe temperature and holds it at that temperature long enough to kill any bacteria.
Canned milk will keep up to 2 years and is great for cooking and even drinking though the color will change. You can’t make cheese, yogurt or rennet desserts from it because the milk won’t clabber.
Condensing Milk
- Start with 4 ½ cups of milk.
- Pour two cups of the milk into a heavy-bottomed pan.
- Stick a wooden spoon into the milk, holding it straight up and mark where the milk level is.
- Pour the rest of the milk into the pan.
- Bring the milk to a simmer, stirring every couple of minutes to make sure that it doesn’t singe.
- Remove the skin that forms as the milk reduces.
- Use the spatula to measure your progress. When the level of the milk reaches the mark you made, the milk has reduced 60 percent and is done.
- Allow to cool then follow the canning procedures described above for canning whole milk.
Evaporated milk can be reconstituted by adding equal amounts of water. It keeps about as long as regular canned milk does and takes up half the space.
Making Cheese
Since I have no idea what kind of cheese you prefer, I’m going to tell you how to preserve it instead. You coat it in wax. If you’re going to do this though, you need a special cheese wax because paraffin wax will crack as it dries. That will allow bacteria to get into your cheese, which defeats the purpose of waxing it at all.
- Begin by melting the cheese wax over low-medium heat.
- Cut your cheese into chunks that you’ll use within a few days.
- Once the wax is melted, brush it over your cheese using a boar’s hair bristle brush; this will often come with the wax.
- Be sure to coat the cheese all over; you don’t want to leave any spot bare because bacteria will get in.
- The wax will harden in about 30 minutes. Hang it in a mesh basket or some other place where it won’t be exposed to water or heat then hang it in a cool, dry place.
Waxed cheese will last up to 25 years but remember that it will age and become sharper.
Making Butter
As usual, start with clean, hot jars and get your rings ready, too.
Hint: 1 pound of butter makes just a little more than a pint so if you’re using jelly jars, you’ll have a bit more than 2 jars.
- Use this method to calculate how many jars you’ll need.
- While your lids and jars are heating, bring the butter to a slow simmer over low-medium heat. Simmer for about 5 minutes, stirring from the bottom to the top to keep it from separating too much.
- Prepare your jars and ladle the butter into the jars leaving about 3/4 of an inch headroom. Scoop from the bottom up each time and keep stirring the butter before you scoop so that you get more than just the oil on top.
- Carefully wipe the rims of the jars and add the lids and rings.
- Set aside and allow the seals to seal.
- Once you start hearing the lids “pinging” as the seal, check the temperature of the jars.
- When they’re cool enough to touch and the lid has pinged down, shake the jar to mix the butter back up; it will separate during the process and be foamy on top and whitish on the bottom.
- Continue to shake every 5 minutes.
Canned butter can last up to 3 years and I know people that have used it up to 5 years after canning it with no problems.
Store in a cool, dry area – this is critical!
Have you tried any of these methods for preserving milk? Which one works the best for you?
Article Source: Survivopedia

How dare you drink it, let alone store the stuff!
Home canning of milk and milk products is an unsafe practice and shouldn’t be relied on for survival.