Leather furniture, seats or other items are usually quite expensive but they just look so great, many of us just have to have them. However, if they get worn out or ruined, this can make us regret spending money on it. These easy steps to repair leather will change this for good. You'll be amazed at how incredible it turns out!
Let's Get Started!
The Supplies You Need To Gather Include:
Refinish Coatings leather repair kit
bucket of water
2 lint-free cloths
soft brush
hair dryer or heat gun
rubber gloves
2 disposable containers
1 Clean
Use an all purpose cleaner, it is recommended to use Simple Green or a dish soap with water. Scrub down using sponge, wipe again clean free of any soap. Finish up with clean water to ensure soap reside is removed, dry. We can use a hair dryer or heat gun, if you are using a heat gun, be sure it’s on a low setting. I would recommend wearing rubber gloves so products do not get on skin. Use clean lint free cloth, Surface Prep apply to cloth, work into surface by applying harder pressure. Surface will feel tacky once cleaned, dry 24 hours or speed up using hair dryer or heat gun.
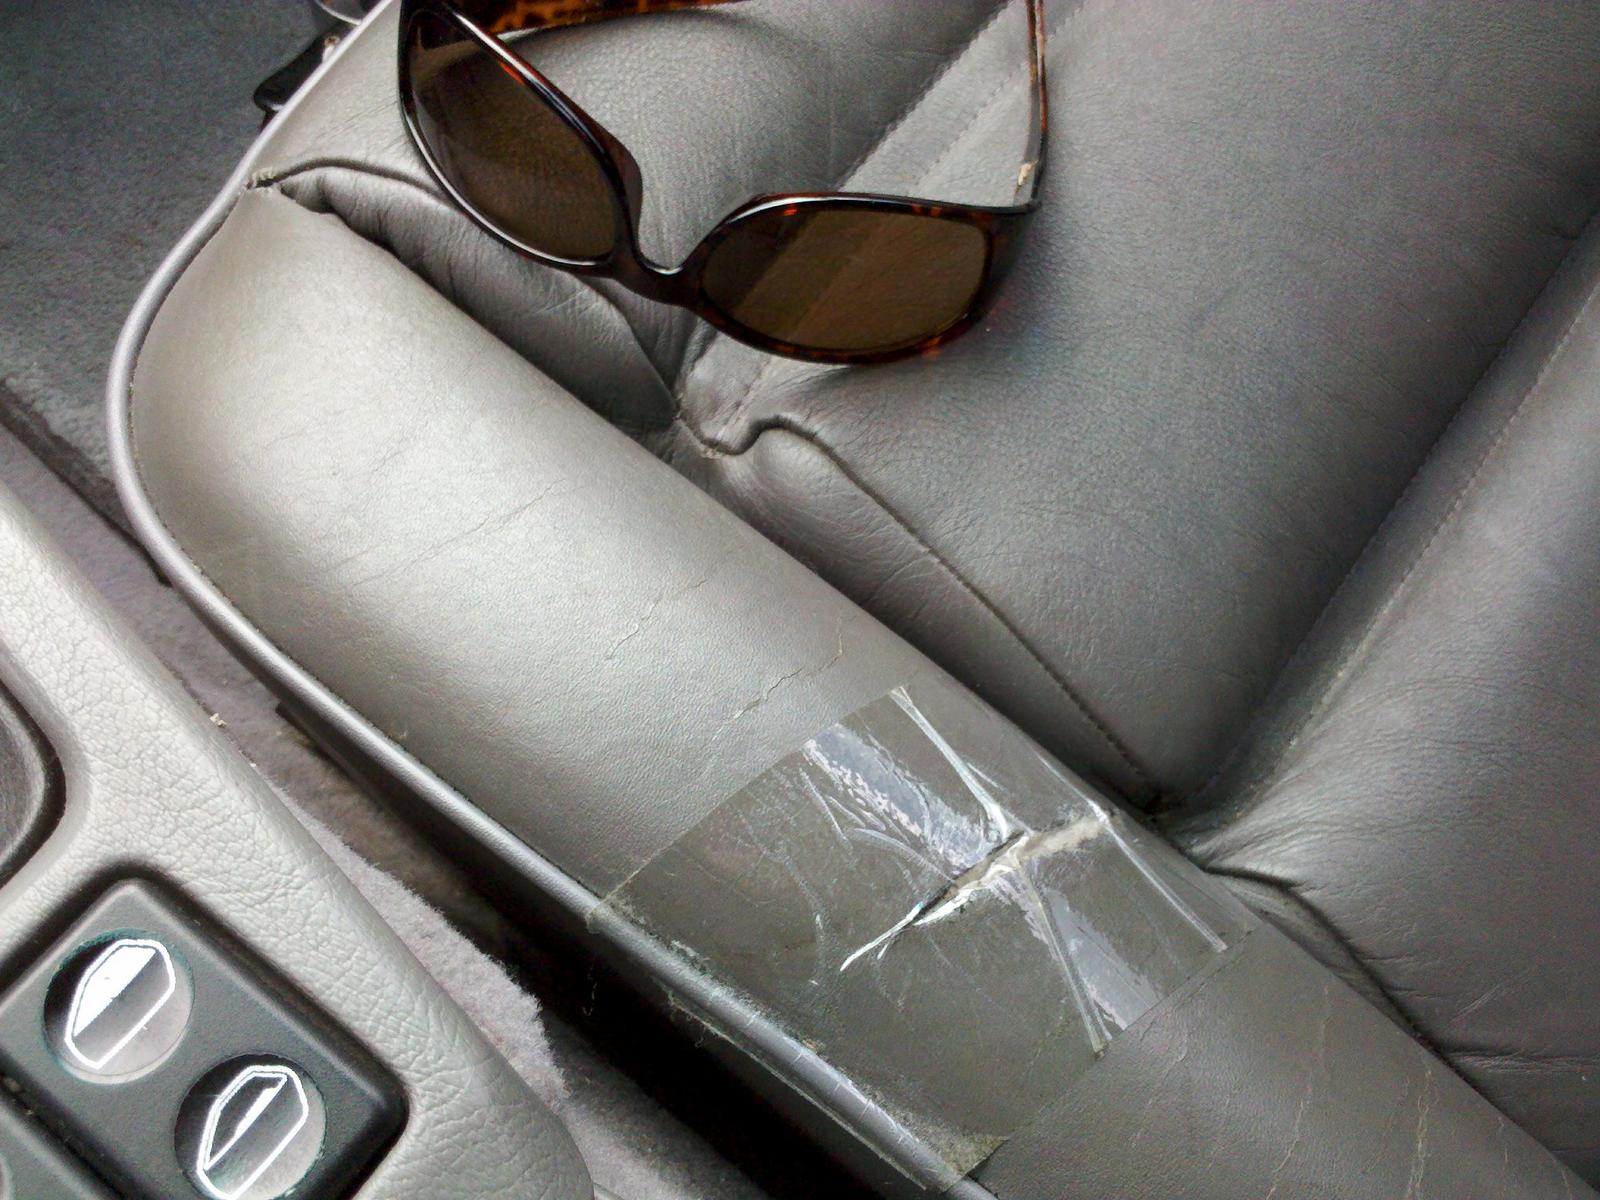
2 Filling Cracks
If you have any damaged areas, use 600 grit sandpaper to remove loose fibres, smoothen area. Clean off sanding debris, give area another wipe with surface prep. Use small disposable container, pour sufficient amount of base coat into cup. Add cross linker to base coat, every two ounces of base coat, add one cc or ml of cross linker. Mix using stir sticks. Apply base coat mix using sponge, use light pressure with fast movements, do not leave streaking. Air dry. Top coat must be applied within four hours. Repair damaged areas, use stir stick to ensure leather crack filler is mixed, apply. Once dry, use 600 sandpaper to smoothen filled areas.
Additional Steps To Follow:
Next, apply your dye. Shake up your Top coat using a container to mix well, pour a good amount into your disposable container. Take a pipette and add your cross linker. Make sure to add two cc or ml of your cross linker per two ounces of your top coat, combine. You can apply your top coat with an airbrush or a little paint gun. Take your sponge and work your top coat in the surface needing repair so it can fill color into any cracks that there might be. Don't use a large quantity of this and make sure to use fast motions and don't leave streaks. Let it sit for approximately five minutes before your next coat. Then add another coat if necessary. It should take about three to four hours for it to cure, if your coats are thick, it may take a little longer. Don't get your repaired area to get wet for at least forty-eight hours.
Finished!
This process is so simple and works so well, you won't ever be afraid to buy leather again! Have you used this repair method before?
Let Us Know How It Worked Out For You!
To learn more about repairing leather, you can visit:
I have worked with refinish coatings before. Fantastic product. But this article is about how to recolor leather, not how to repair a split leather. Just for clarification.
Wtf does this have to do with any kind of survival?