It's always good to have ice packs around. As DIY'ers we work a lot and that can lead to sore muscles, sprains and other aches and pains. In order to keep going, we must get rid of the aches and pains and continue plowing forward.
As the motto goes here why buy when you can DIY so here are the steps that you need to take in order to make yourself a very reliable ice pack.
DIY Gel Ice Pack
- 1 gallon zip-style plastic bags
- 4 cups water
- 2 cups Isopropyl/rubbing alcohol
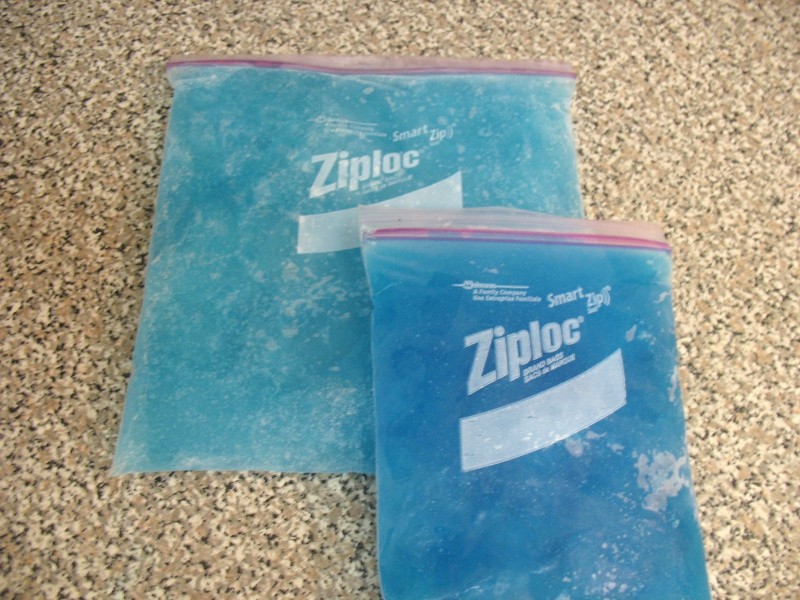
- Fill the plastic bag with rubbing alcohol and water. If desired, add a couple of drops of blue (or other) food coloring. I like
The purpose of the food coloring is to distinguish your ice pack from frozen drinking water. (You do use the empty space in your freezer for water, right?)- Set the bag in a bowl (I used a large Pyrex measuring cup like this one) and place it in the freezer for an hour or two.
- Remove the partially frozen bag and squeeze out as much air as you can. Return to the freezer and keep it there overnight or until it becomes slushy/firm.
Note: I tried to remove the air in the beginning and made a mess. It is much to wait until the ice pack has started to set up