Since the chances of a SHTF event occurring are low, depending on your location, you don’t want to spend your life savings on stockpiling just to watch the items go bad. Instead, you can turn to DIY projects to strengthen your prepping plan. Yes, this includes DIYing your own water filter! Most water filters cost hundreds of dollars so save your money and use your creativity instead to build a water filter. There are steps below as well as videos that demonstrate different filter complexities.
How to DIY Your Own Expensive Water Filter on a Budget
Of course, since you’ll most likely be using plastic buckets for the DIY job, your homemade filter will lack the “wow” factor of a stainless steel-made one, but the water quality will be just the same, and that’s all that matters in final analysis. This is not a beauty contest.
What You Need
You’ll need a couple of 2- or 5-gallon food-grade plastic buckets with lids.
The buckets can be usually procured for free from restaurants or grocery stores. Stay away from pickle buckets if you can, as the smell is hard to wash out. If you can’t find free food-grade buckets, you can go for the out-of-pocket option and buy them new. They aren’t very expensive; 5-10 bucks. You can go for stainless steel containers instead of plastic buckets, as stainless steel is more sanitary than plastic.
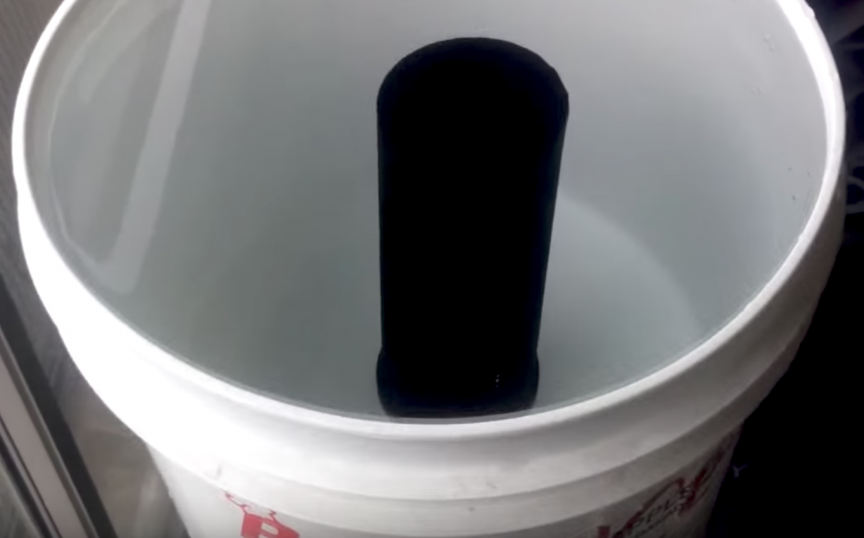
The main component in your DIY water filtering system is the Berkey filter element. You’ll need two of those (they always come in pairs) and they’re easy to get from places like Amazon.com.
And here comes the crux of the trick: a genuine Berkey replacement filter costs anywhere between 30% and 50% of the whole water filter; here’s where you save the big bucks. If this filter is too much for your budget, don’t worry; there are many other brands to choose from on Amazon which are cheaper. Just look for .01-.02 micron ceramic water filters and make sure you read the reviews.
Finally, you’ll need a spigot, and obviously you can get a Berkey system spigot or that kind used for water coolers from Amazon or Ebay.
As per tools, all that’s required for a basic DIY water filtering system is a power drill.
With the gear taken care of, you’ll have to drill some holes through the plastic buckets and then attach the water filtering elements and the spigots. It’s a pretty straight forward job and very simple.
Keep in mind to prime the filters prior to installing them into the pails; i.e. flush them with water at your kitchen sink. Don’t worry because there are instructions for doing this included in the package.
Another thing: after you’re finished with assembling your water filtering system, discard the first 2-3 batches of filtered water.That’s because you’ll want to flush out all the potential residue left inside the filters from the manufacturing process.
If you want to filter the fluoride from the water (regular black Berkey filters don’t do that) you’ll have to go the extra mile and buy a couple of optional fluoride filters. They’re easy to install, as they just screw on the bottom of the regular filters.
Black Berkey filters are good enough for providing you with 6000 gallons of crystal clear water before requiring replacement, meaning that they’re last you for at least a couple of years if not more. Fluoride filters must be renewed sooner: every 1000 gallons or so, approximately.
The simplest of the bunch, this is a guy using 2 recycled plastic buckets and a screwdriver. It’s a 15 minute job.
And here’s another, with the whole DIY job made by a nice lady.
Finally, a higher-end job: a water purifier built using 16-quart stainless steel stockpots with lid.
Have you tried making your own water filter instead of purchasing one? Were you able to use it during a crisis?
Article Source: Survivopedia