Out of all of the “I want to learn about” questions that were asked these were our top answers. These are things that may seem simple to those of you who know them but are total mind stumpers to those who are clueless as to how to go about them.
1. Tile a Floor
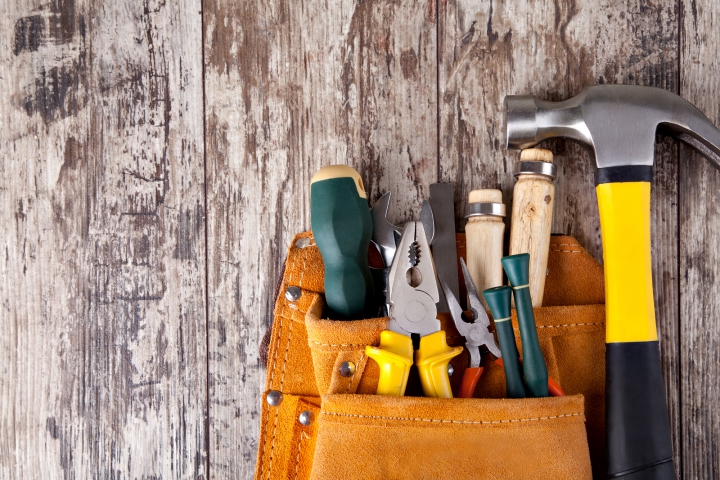
From what I have heard (as I have yet to do this myself) is that laying tile on a floor or wall isn't that hard to do—it just looks intimidating. I know that I have seen advertisements in places like Lowes or Home Depot on how to do it. You will need a few simple tools such as a putty knife, trowel, and a level and a tile cutter, which you can just rent on a project by project basis if you don't want to invest in one. And basically all you do is spread mastic onto a floor or wall with a trowel, set the tile on top of it (cutting it if necessary), check to make sure it's level, and then finish up by applying the grout over the top. It really is that easy!

2. Unclog a Sink
Now this one sounds like one many of you will probably roll your eyes at but you would be surprised at how many people don't know how to do this. Instead they call a plumber and spend a TON of money on service fees for something they could do themselves.
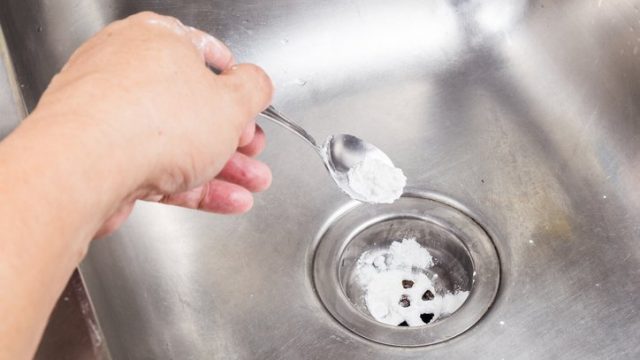
The easiest way is to try the baking soda and vinegar method. For this, use one cup each of baking soda and vinegar. Try to get the baking soda as far down the opening as you can and then pour vinegar on top. The bubbling action, as a result of the chemical reaction, will help force the clog out. If this doesn't work, try using a plunger. If you have a dual basin sink, remember to stop up the side you're not plunging. Then, add enough water to the sink so that it's just over the top of the plunger, and begin plunging straight up and down. Still clogged? Next up is to check the P-trap—it's under the sink and easy to remove. Once you've removed it, look inside and remove the clog. If the clog isn't removed by any of these methods, it's further down the drain than what's easily accessible and you're going to need a snake, or a plumber after all.
3. Fix a Dead Outlet
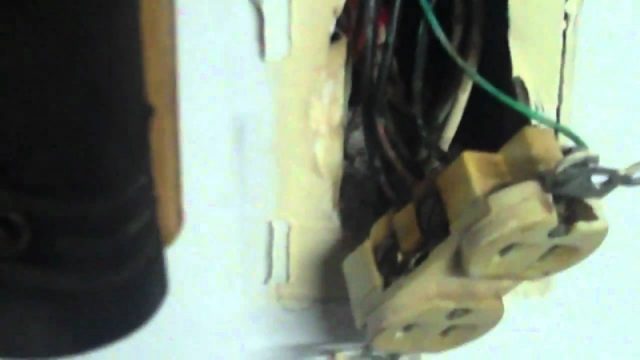
So with this one it can be a bit tricky but for the most part if you can strip a wire and turn a screwdriver, you can fix your dead outlet. The first thing to do is to turn the power off at the breaker panel. This is very important since your safety is on the line. Once the power to the outlet is off, inspect the wiring attached to it.
If the wire is still attached, it may just be a loose connection. Simply tighten the terminal screw back down onto the wire and when done check to see if that fixed the problem. If the wire is detached, reattach it by wrapping the end of the wire clockwise under the terminal screw and then tightening the screw back down again. If the wire appears to be damaged, cut off the damaged wire about 1/8 inch in from the end, stripping ½ inch of the insulation. Reattach the wire and tighten the screw. If none of these fix your dead outlet, you should get professional help.
4. Hang and Finish Drywall
Now this one is a little more involved and probably not one I would attempt without some assistance of someone who has done it before but that's just me. Drywall itself is one of the least expensive and easiest to use when it comes to construction materials, which is great for a DIYer because mistakes won't cost you a fortune and are an easy fix. What you will need is a ladder, and your drill. To get started, hang it using drywall screws, starting at the top of the wall and working down.
As for cutting drywall, all you need is a T-square and a utility knife. Score the paper face with the knife and snap it off at the score. Finishing drywall is also simple—tape the seams and joints with drywall tape and mud, sand, and paint.
5. Patch a Hole
If you have ever lived in an apartment then you know how to do this already!
You'll need some self-adhesive mesh, a putty knife, lightweight drywall compound, and sandpaper. To start, sand the edges of the hole, remove any backing from your wall patch or self-adhesive mesh, and apply the sticky side of the patch to the hole. You want about ½ inch of the mesh or patch to overlap over the hole on the outside. Use your putty knife to apply the drywall compound around the edges and work your way to the center. Be liberal with the compound since you want it to fill in well. Once it's dry, you can sand it down so that it's even with the wall around it.
Source: Do It Yourself