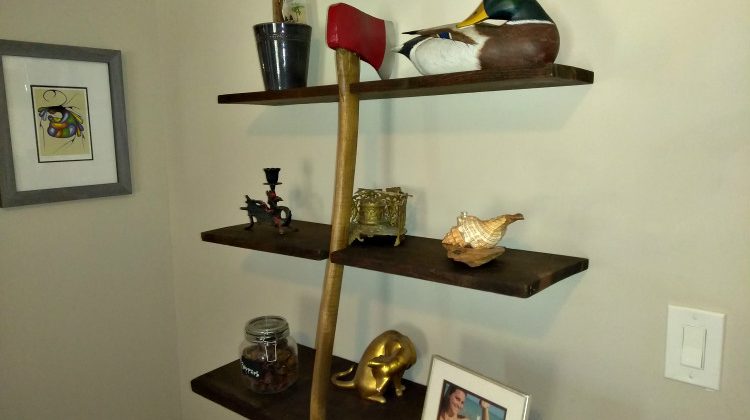
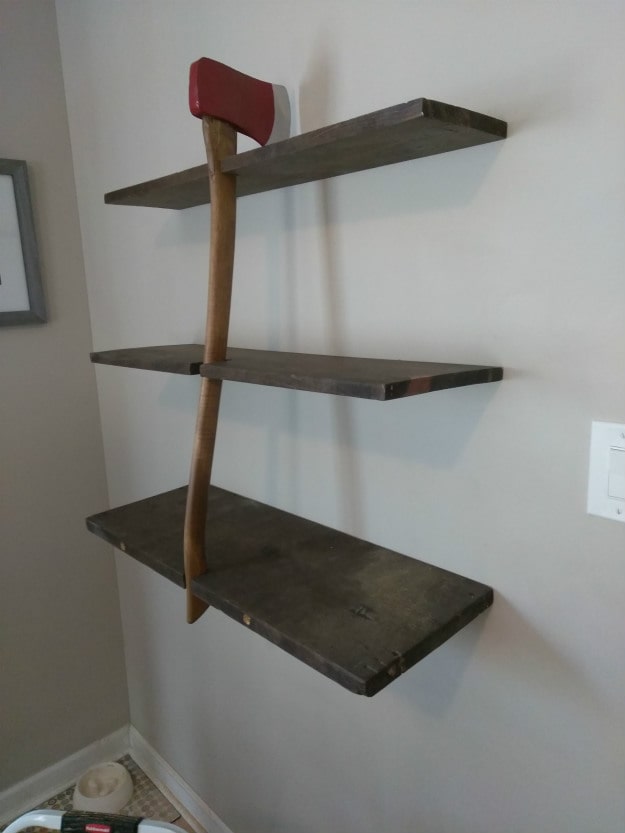
These axe shelves give you the opportunity to bring your love of craftsmanship indoors. You can't purchase these at any home store so they'll be a conversation starter when you have guests. The biggest decision you'll have to make with this project is on which wall to display them!
Materials needed:
- 3 boards of your choice
- 1 axe
- ¼” steel dowel
- Hanging hardware
Tools used:
- Circular saw (or table saw)
- Power drill (or drill press)
- Orbital sander
- Scroll or Jig saw
- Metal saw or bit
- Stud finder
- Rasp
- Clamps
- Sandpaper
- Stain
- Wood glue
- Furniture repair markers
Step #1: Get and ready your materials
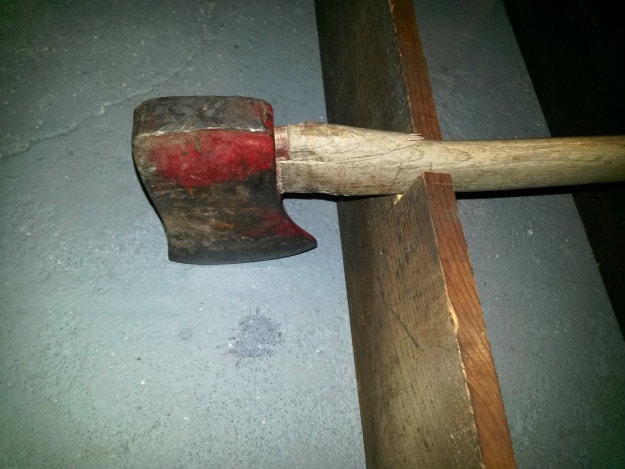
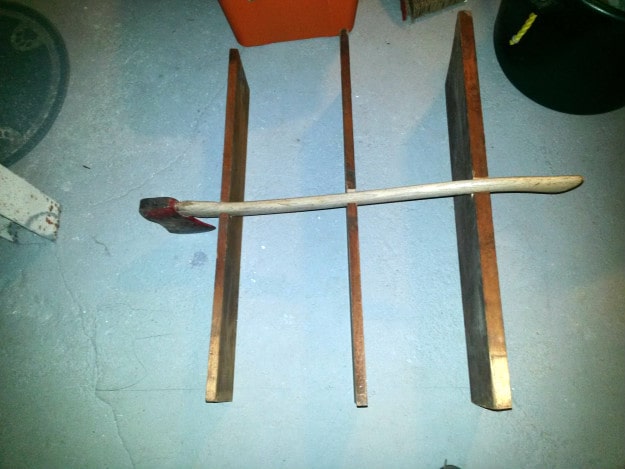
This is what the axe looked like beforehand.
Step #2: Get the boards notched and cut
So the first thing I did was to cut the boards to the length that I wanted, which was 32”. I knew I wanted the axe to be diagonal with the tip of its blade touching the wall. The bottom board was already 12” wide (11 ¼” real size), so I kept that as is. The middle board I ripped to 9 ½” and the top board to 6 ¾”.
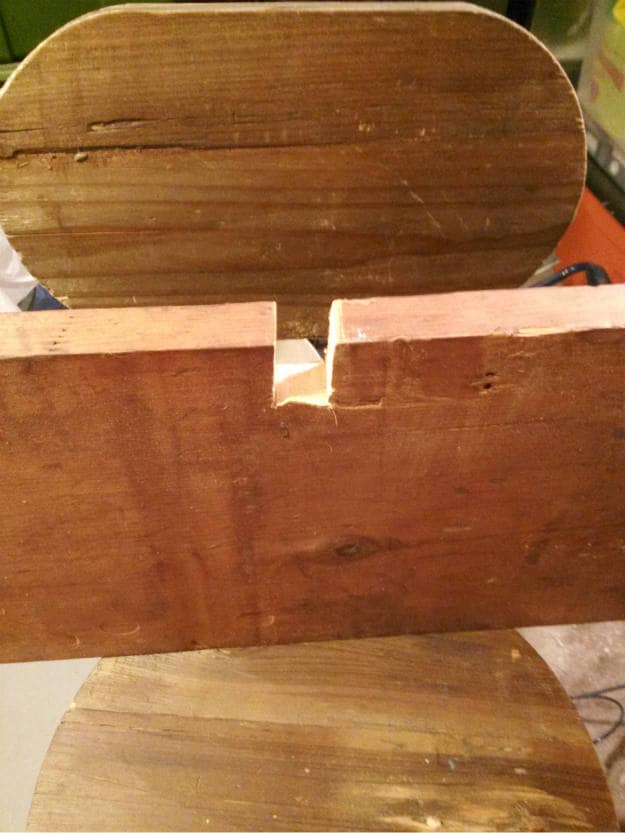
The next step was to cut out the notches on each board to accommodate the axe handle. I measured the axe handle at about 2” thick/deep and 1 ½” wide. I then used a jig saw to make the notch. Since the axe is at an angle, the top of the notch is a little bit deeper than the bottom. I used a rounded rasp to achieve the correct angle in the notch. Just a note, make sure you sand/file/rasp DOWN into the notch.
Step #3: Prep the axe handle
First thing I had to do was to repair the broken chip near the head of the axe. I used simple Elmer’s wood and clamped it down to set overnight.
For the axe handle, I put it in a vise with a little padding, as I didn’t want to vise to squeeze or deform the handle. Then I hand-sanded down one half of it, making sure to always follow the grain length-wise and not to go around or up and down. Start with rough grain and taper down to medium and then to fine. Make sure that you don’t overly round any edges.
Step #4: Make the shelves look pretty
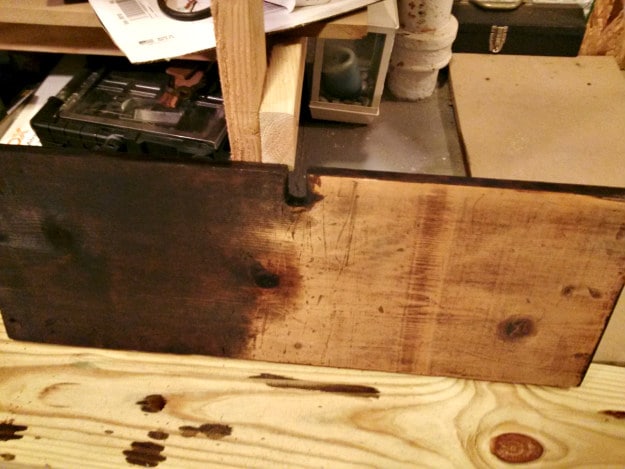
I used a medium grain sandpaper to smooth out the boards. Once they were all sanded, I stained them a dark walnut (Minwax #2716).
Step #5: Bring the axe back to life
I wanted a rich deep color as well, so I used Minwax Provincial #211. To stain it, I did the same thing as I did when I sanded it. Put it in a vise, use padding and do one half at a time.
Make sure you use the right PPE (personal protection equipment.)
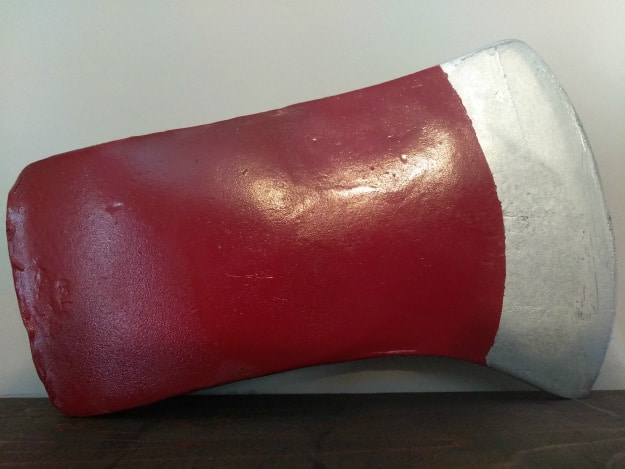
I like the classic red & silver look to the axe heads, so I wanted to bring that look back out and make it look clean and new-ish.
Step #6: Attach the axe to the shelves
The process I came up with was to insert a steel dowel into the shelves that would then go into the axe handle. The dowel had to go into both materials enough that it would hold weight well. I used a ¼” bit and drilled about 3 ½” into each shelf and about 1” into the axe handle.
Using a metal bit in my saws-all, I cut three pieces, each about 2 ½”. Insert them into the shelf and then fit the axe handle on to the dowels.
I did not permanently attach them at this point, I just placed them together to make sure everything was copacetic.
Step #7: Prep shelves to hang
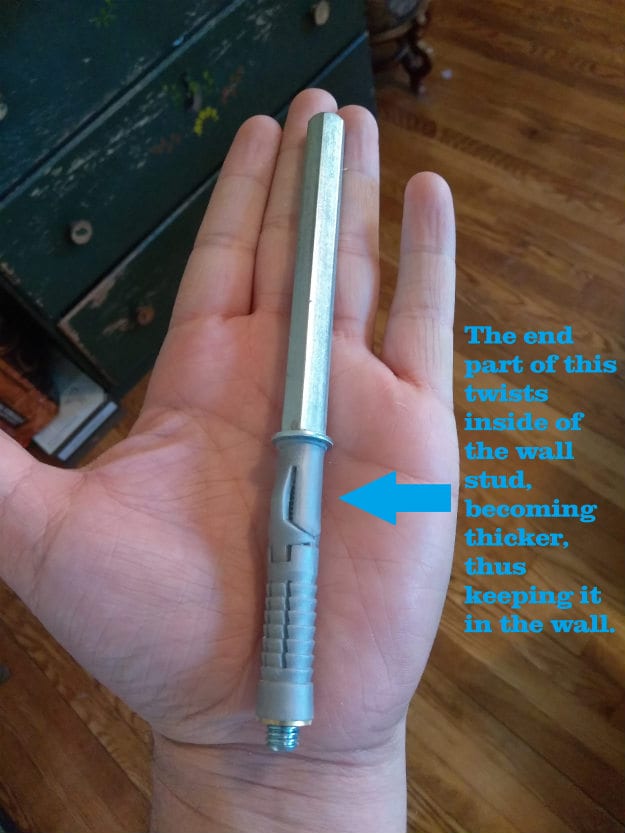
I finally decided to use these floating shelf brackets from BlueStoneShelves.com.
The only issue with these is that you are going to be making LARGE holes in your wall, so you’d better be sure where you want to put your shelves!
For each shelf, I needed to drill a ½” hole, 4” deep. This is what the website says: “This job is not for someone without access to some accurate drilling tools like a drill press.” I did not have a drill press. However, I have a good eye and I have a power drill with a level-bubble in it. I propped the shelves up on their edges, placed heavy books on either side to support them. Then I started with a 1/8” bit and carefully drilled straight down. I upped it to a 5/16”, following the 1/8” guide hole. Finally, I used a ½” bit to get the hole the right size.
I did this to each of my shelves, drilling two holes in each, 18” apart so that they would go into the studs in the wall.
These MUST go into studs.
Step #8: Attach hardware to the wall
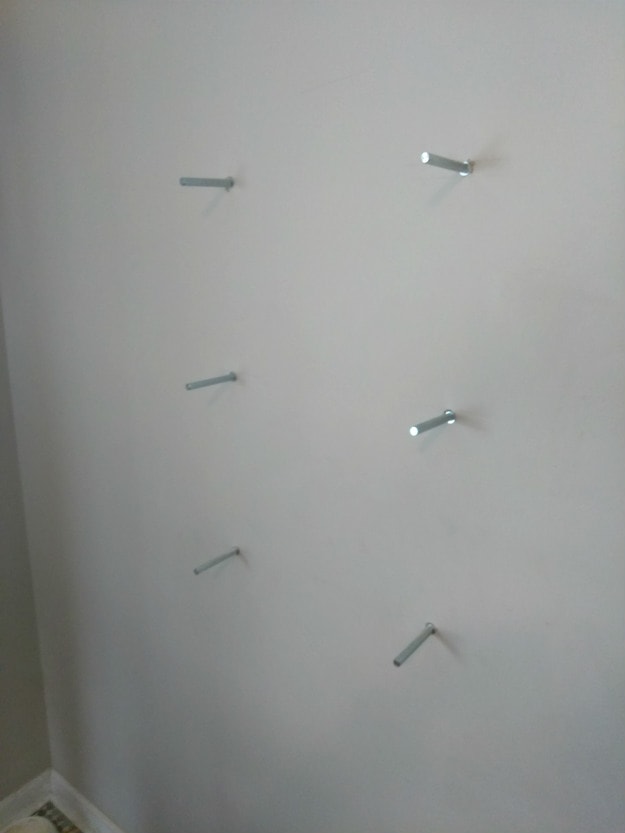
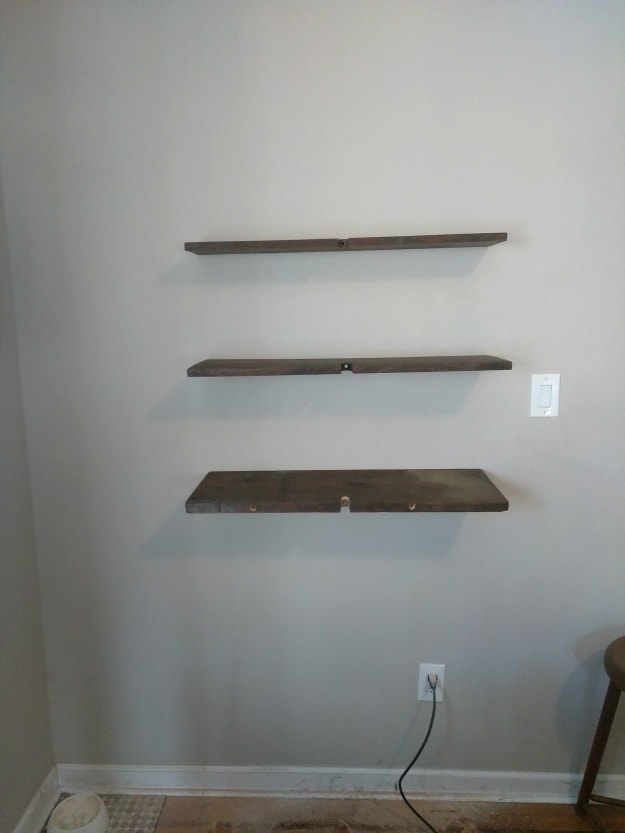
I figured out where I wanted the bottom shelf to be and drilled into the wall, making two holes for my brackets. Again, I started with a smaller bit before using the full ½” bit. I fit the bottom shelf onto the hardware with the axe and middle shelf attached. This helped me figure out exactly the location for the second set of brackets. Repeat for the top shelf.Step #9: Put it all together!
Brackets in.
Shelves fitted onto brackets.
Axe fitted onto shelves.
Have you been able to make these axe shelves? What would you do differently next time?
Article and Photo Source: DIY Projects