Steps 1 – 4 are primarily preparation, including gathering all the supplies you need, which you can in the original post at Instructables. You'll also need to get a design and make a template for your thumb dagger, as well as clean your saw blade. Then you're ready to start constructing your dagger:
Step 5: Make the First Cut
With the saw blade clamped down a 1mm cut off disk made quick work of this first cut. If you want you could also clamp down a sacrificial fence that can help you to make this cut straight. I prefer to do this freehand though which isn't too hard if you take your time use little pressure and let the grinder do the work for you.
Step 6: Glue on the Template
You could use spray adhesive to do this but I prefer a simple glue stick to attach the template to the steel.
Step 7: Rough shaping
In this step I moved closer to the dagger outline by removing more material with my angle grinder. This step was done to make the shaping easier and save on abrasives belts. In hind sight I think I should have also removed further material with a flap sanding disk to make the following step easier.
To avoid cutting curves (which can be quite dangerous with the angle grinder) I recommend to prepare longer cuts by making relief cuts along the planned cut path that are perpendicular to that line. I usually make a cut every 5mm or so which works out fine for me. Be careful though to not move too close to your outline as those thin disks go through steel like the proverbial hot knife through butter.
Step 8: Fine Shaping
I got myself a 1″ x 30″ belt sander for Christmas and now was the time to finally try it out on a project. I quickly realized that although it did remove material quickly I could or perhaps should have removed a little more material with a flap disk in the previous step.
Anyways using a coarse 60 grit belt removed the material quite effectively and I was able to move towards the outline quickly.
One thing I noticed however was that the design I used was completely hand drawn and resulted in a few asymmetric areas. I tried to square things up as good as possible and went on to the next step
Step 9: Squaring the stock
To be honest this step should have been done way earlier and I recommend you to do it before you glue on the template.
The purpose of this step is to remove tool marks (from it's previous life as a table saw blade), dents and any other imperfections. This would be especially important if you intend to give the blade a mirror finish.
Initially I tried to do this with my belt grinder but noticed that the flat work area wasn't large enough and resulted in grinding in a noticeable dent. What followed was a long time sanding away with my old bench belt grinder until the dent was gone and another lesson learned. Using a welding magnet I was able to comfortably hold down the blade whilst not worrying too much about the heat (I did of course take care that the blade didn't get too hot).
Step 10: Preparing for Drilling
An automatic center punch was used to create a small dimple which was then enlarged with a regular center punch. This dimple is very helpful for drilling because it helps the bit to stay aligned during the initial drilling. If not using a drill press it is likely that the drill bit will “walk” out of alignment.
Step 11: Drilling the Lanyard Hole
With the blade prepared it was relatively easy to drill a 4mm hole using a HSS bit and a cordless drill. Going slow and using some cutting oil resulted in a clean hole.
Once the hole was finished I used a deburring tool to remove the burs around the hole. If you do not have such a tool you can also use a larger sized drill bit and remove the burr with that by hand.
Step 12: How to create consistent bevels?
Here is a trick I've learned some time ago from Laura Kampf. It is quite simple to make and costs next to nothing when made out of scrap wood. The only down side is that you will need a chop, table or miter saw to create an exact miter (Or you are skilled enough to achieve this by hand…or sorcery). I decided to go with a 15° bevel and see how it would turn out. The blade was fastened to the wood with a single screw which in hind sight was not ideal but more on that later. A second screw or other means of fastening would be preferable and I'm thinking of a number of design improvements (If you have any please feel free to post them in the comments.
Step 13: Grinding the Bevels
I started this process with a 60 grit belt and the process was surprisingly quick and smooth. At this stage it becomes quite important to keep the blade cool to avoid ruining the temper. I did not plan to heat treat this blade so keeping cool was quite important.
I usually checked the process after each pass along the belt adjusting by hand where more material needed to be removed.
Did I mention to keep the blade cool? No? Right so when you see that the steel changes color cool it down immediately as this means that your blade is way too hot and the heat will change the physical properties of the steel in that area making it softer or too brittle depending on the temperature and type of steel.
This is a really cool project! Have you ever made anything like this? If not, would you? We'd love to hear what you think of this clever creation, so please share your thoughts in the comment section below!
Article Source: Instructables
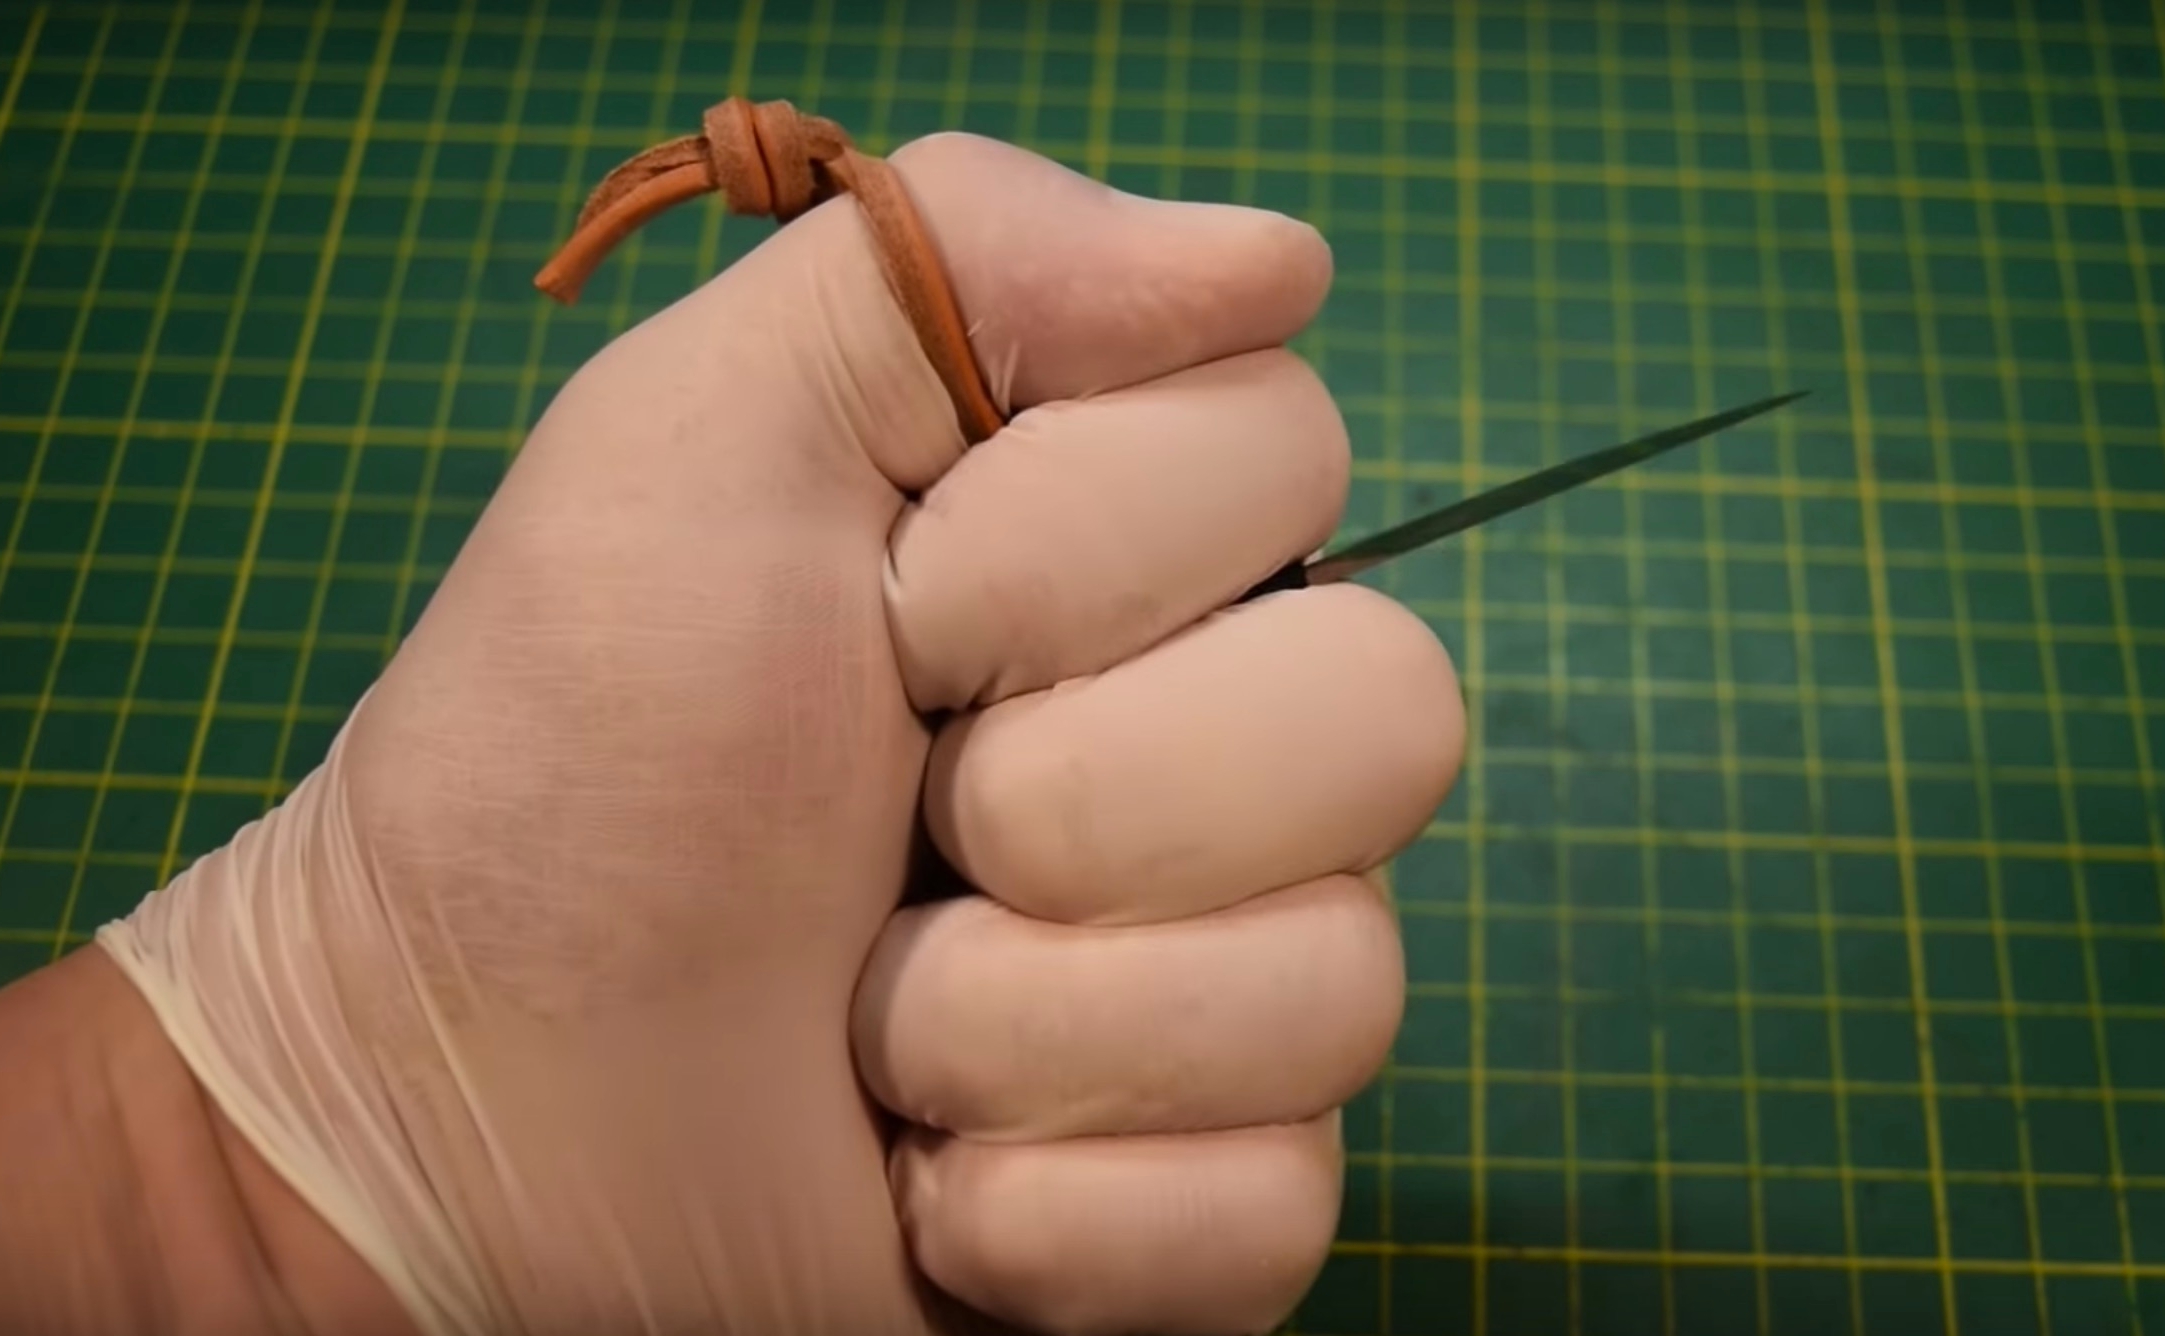
Lapel dagger.
useless
I, actually, received something similar to this years ago; by accident.
Where do i get one