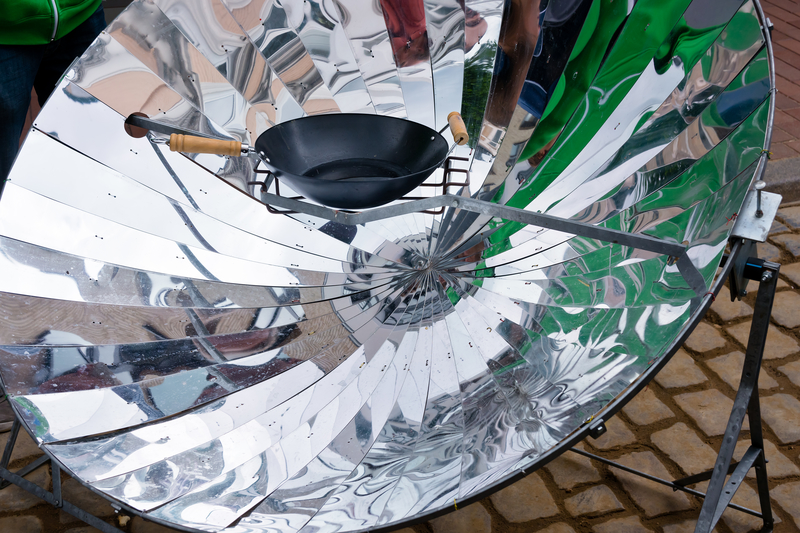
If you're new to solar cooking, here's a crash course in how solar cookers are made and the many types of designs available. This should get you started!
Two Things You Need for Solar Cooking
1. Solar Cooker – you can make your own (see below) or buy a unit that’s ready to go like the Sun Oven.2. Dark Pot to cook in – Your cooking vessel can be graniteware, cast iron or an aluminum pot painted black on the outside. The thin walls of the graniteware (the new type, made of stainless steel covered by enamel) or aluminum conduct heat well.
If you are not able to find black or darkened pots and pans for use in your solar cooker, you can cook your food in jars. Canning jars are preferable because they are designed for high pressure and heat. Regular clear jars can be used if you do not seal them too tightly in order to diminish the possibility of exploding. You can paint them black for better heat absorption.
You also need sun, of course, generally two to five hours of it, depending on what you’re cooking.
The golden rule of solar cooking is: GET THE FOOD ON EARLY, AND DON’T WORRY ABOUT OVERCOOKING.
DIY Solar Cooker Designs
Inner tube cooker – The simplest design of a solar collector uses an old tire innertube. Place the inflated tube on a board on the ground. Place the cooking vessel inside the tube. Cover the tube with a piece of plain glass. The place in the well of the tube is like a closed cavity. Air neither go out nor come in. The rays of the sun enter the glass and get trapped. Slowly, the temperature of the cooking vessel rises, and the food is cooked. You can add a mirror on top of the board, which would reflect more of the suns rays on to the pot.Bucket Cooker – Another simple way to harness the sun into a solar cooker is by using a bucket. Take a 5 gallon bucket, put a heavy rock in it to keep it stable. Take your shiny car window shade and fold it into a cone shape. It will be an awkward cone. Then place the cone tip into the 5 gallon bucket. Get a black pot with lid and fill it with your food. Put pot on a cheap-shiny pizza pan. Slide both pizza pan and pot into a turkey cooking bag. Close and tie off bag. Place bag, pot and food over the center of your shade cone and leave it facing the sun.
Basic Cardboard Box Solar Cooker – 23 years ago, we started with 2 cardboard boxes, one inside the other with the gap between filled with insulation, covered with none other than duct tape. Flashing, found at a builder’s store, made up the sides and bottom. A piece of mirror was taped to the box flap. We used a stand-up dressing mirror for the sun reflecting into the box, and used a piece of glass to cover the top … Voilà, we had a solar cooker! It worked great!
Wooden Box Solar Cooker – We have since built a newer model, shown at the top of the post. The new sun oven is a black wooden box, with fold out lids that can be closed up when not in use. The inside of the box is painted black. After the food is placed inside, a piece of glass is placed on top. Two flaps were hinged to the top and mirrors attached. These flaps can be positioned to reflect the suns rays into the box, where the sun’s heat is trapped.
Have you ever used a solar cooker? Would these tips make you more likely to try one for yourself? How did you make your solar cooker? Share your thoughts in the comment section below!
Article Source: Common Sense Home
