It's a weight off your shoulders to know that your dog or cat will be able to have food even when something prevents you from being home on time for breakfast or dinner. If you're concerned about it malfunctioning, all you need to do is complete a few trials runs and you'll be confident that your pet will never need to wait for their meal again. Take a look at what it takes to make it:
Materials:
- 1x Soma Smart Shades window shade motorization device
- 1x Linear guide rail, you can use whichever you like I used NSK LS15
- beaded cord (from old blinds)
- Recycled wood
- Wood Glue
- Some screws and bolts
Step 1
At first, I drew a 3D model, so I could see better how it supposed to look like.
The file is here, and you can view it in SketchUp.
Step 2
The bottom plate (on the right), the back (in the middle) and the top part (on the left), that is used to hide the food.
The back part is already glued together in the picture. I made it from three parts (one bigger plate and two smaller ones). You need to attach them so, that the guide rail would fit between them.
The top part is also glued together. I made it from three parts. Two side walls need to be a little bit shorter so you would have the room to attach bottom and back plate together.
Once the glue dries, I sanded the panels until they feel smooth.
Step 3
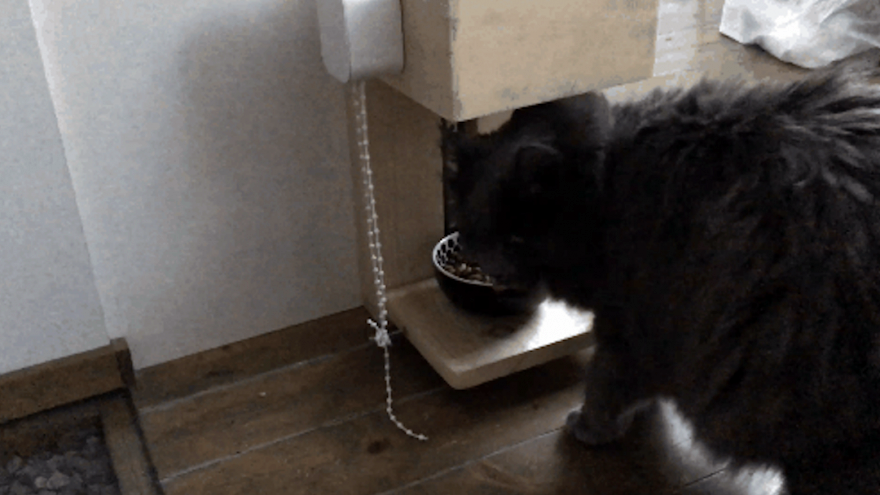
I attached the linear guide to the back side of the frame using screws. The bottom plate is connected to the linear slide rail with angle bracket.
Important: Add a stopper to the bottom of the cat feeder so the slider would not slide off. I used a piece of wood.
Step 4
Use double-sided tape and fix the Smart Shades in place on the side of the top part. You need to download the Smart Shades app and install it as the instructions go.
The Smart Shades gear needs to make 5 turns between upper and lower position. If it is less then it does not let you complete the set-up.
Step 5
After the initial setup, I did some try runs. Smart Shades did not stop as it should have.
I had a plate on the stand so when Smart Shades did the first calibration. It measures the weight it has to lift, once his head was touching the upper part, it stopped right away.
There are two different feeding protocols available:
ASAP or the Instant feeding – with a swipe up and down on my smartphone.
Scheduled feeding – using the mobile app and setting delayed triggers.
You can switch between the manual and the automatic control easily in the mobile app.


Have you made your own solar-powered cat feeder? Let us know how it turned out!
Article and Photo Source: Instructables
Jaron
Lol. Maybe make three. ….
Maddie Holden this might help