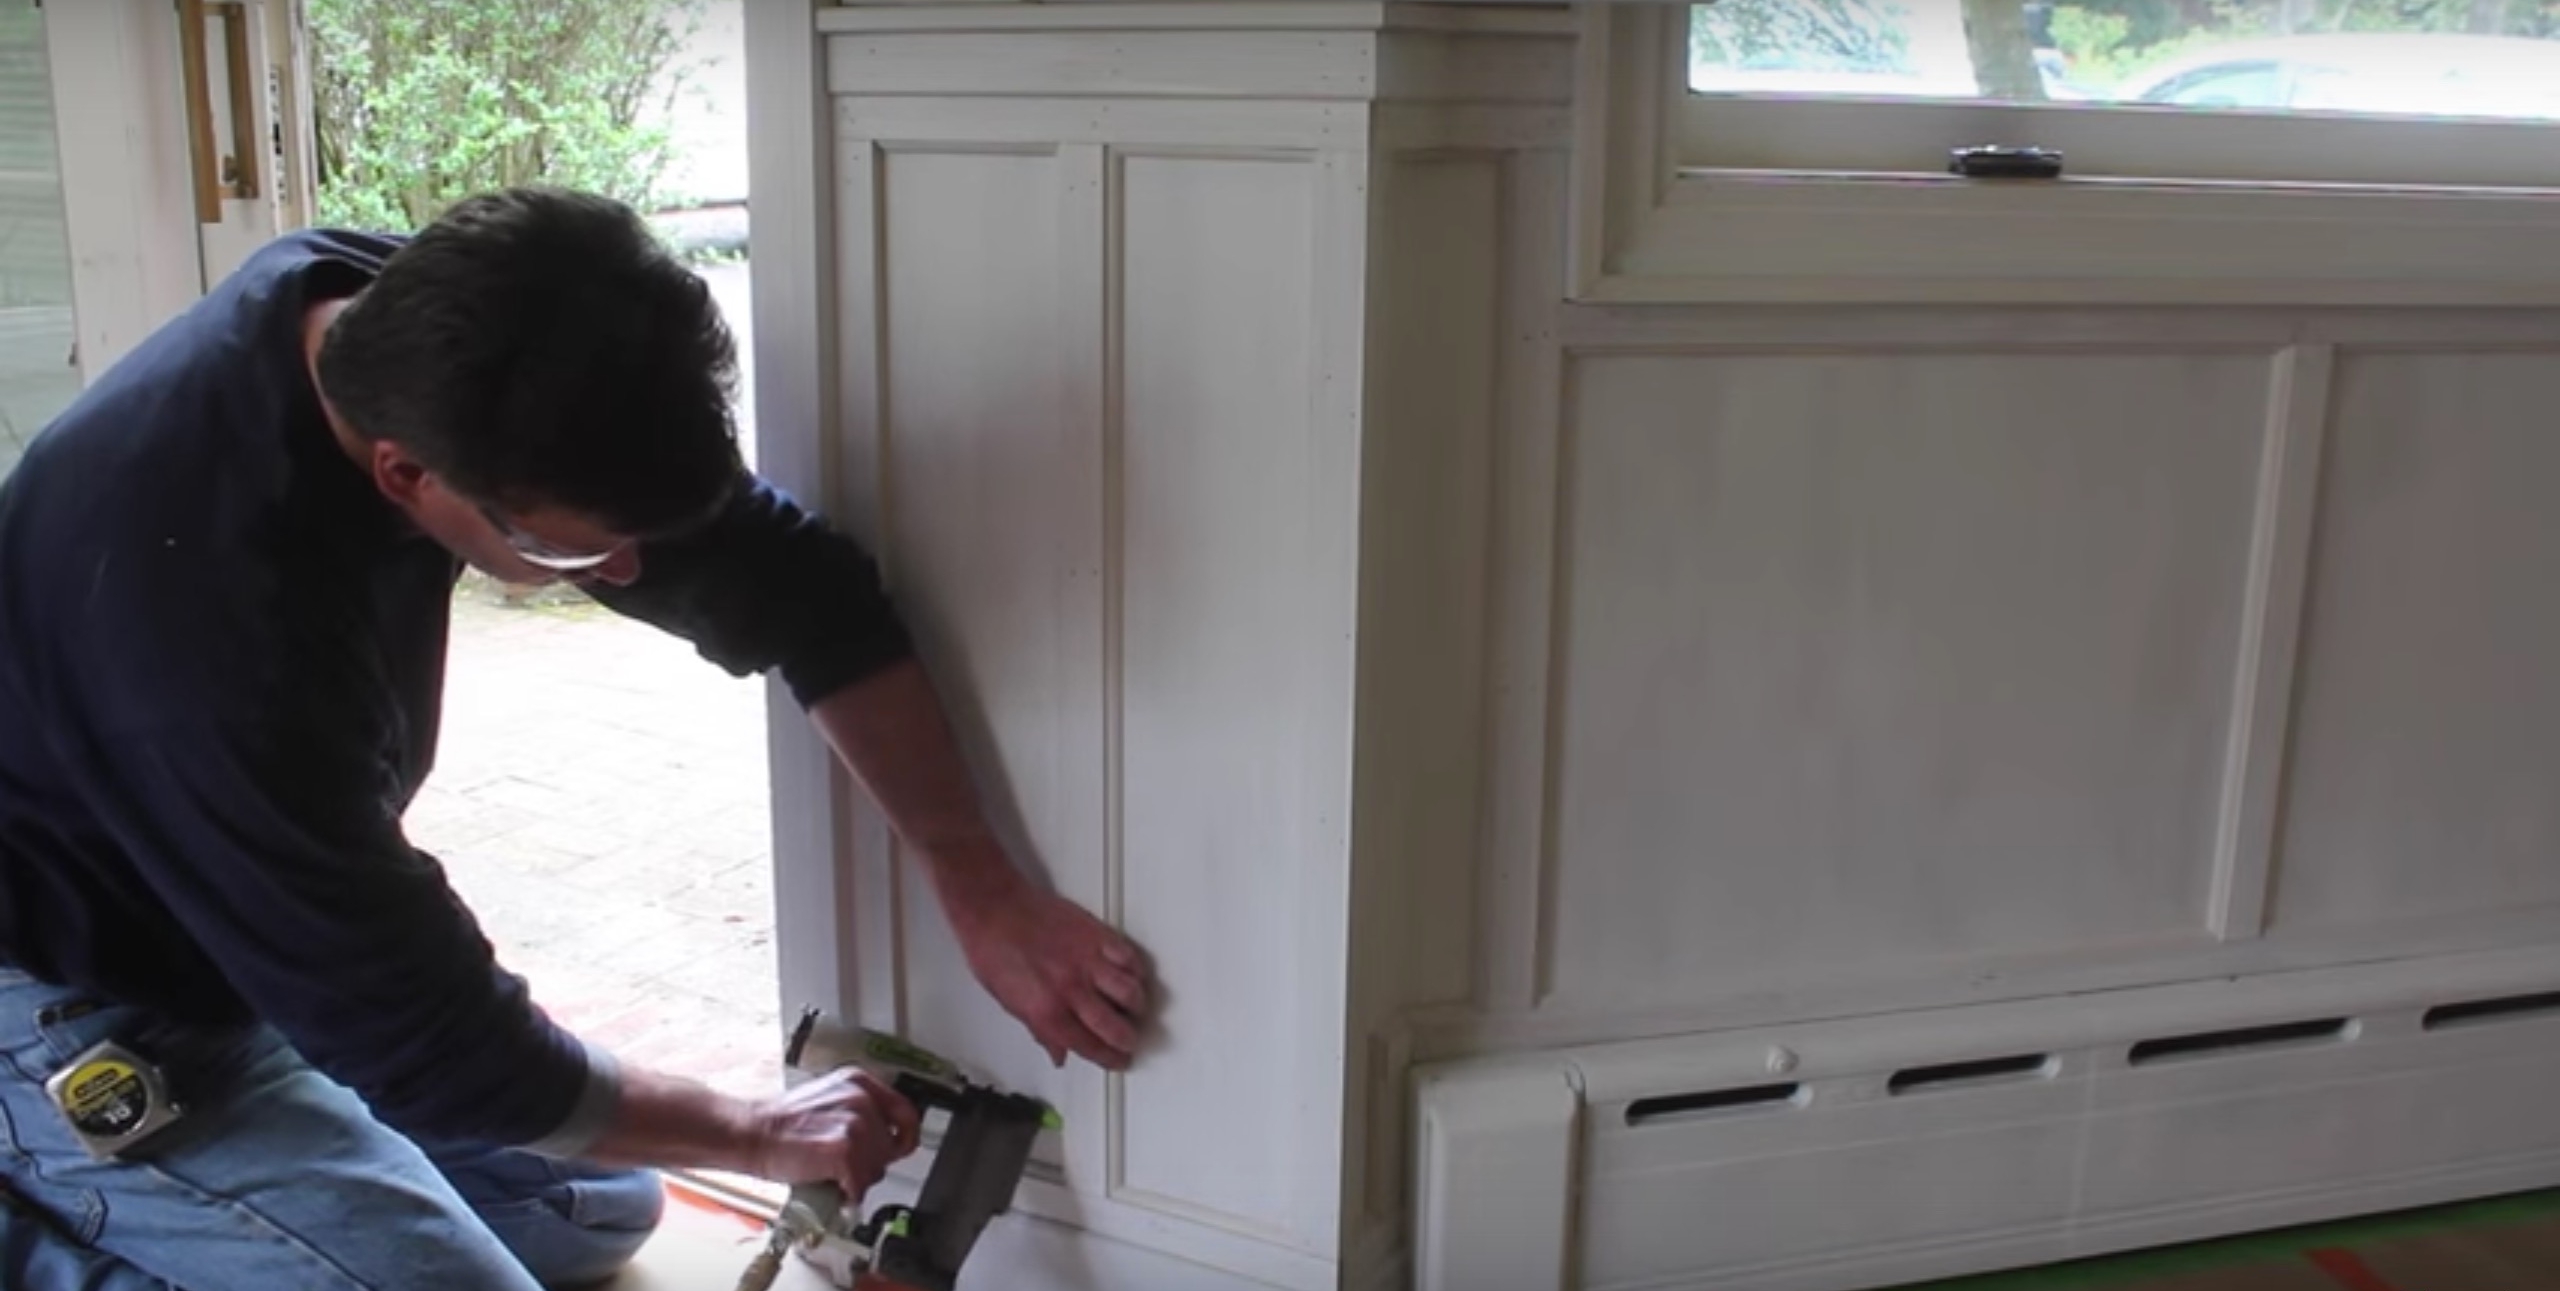
Sometimes the rooms in our homes start to look a little run down after a few years. This is when we want to do something to make them look good again. However, fresh paint is not the only option. You can also install chair rail and wainscoting. These steps make it so simple. You'll be amazed by the results!
First, use a Leica laser level to get a level line around the way around the room. Measure and then raise the laser to that line.
Next, in order to hold a straight edge, trace a reference line all the way around the room. The chair designs have both a bottom and a top part.Line up the bottom of the top piece with the line and work your way around the room. Glue the chair rail into place and secure with nails. In this case, the longest molding was eight feet but it might be different depending on the size of your room. For molding runs that are longer than eight feet, in this
Line up the bottom of the top piece with the line and work your way around the room. Glue the chair rail into place and secure with nails. In this case, the longest molding was eight feet but it might be different depending on the size of your room. For molding runs that are longer than eight feet, in this insistence, a forty-five-degree angle lap top was used.
Once the chair is finished, you can start working with the section just on top of the baseboard that is considered the rail. This is the molding that will help make the flat panel. In this case, this piece molding was an inch and a quarter by half an inch. For the piece, you can just build off of the existing baseboard. Once the rail underneath the chair is finished being attached off the base you can start working on the styles. These are vertical old pieces that will help to complete the flat. If it doesn't turn out perfectly you can also clean up with some caulk.
The most time-consuming part of the project is now trimming and deciding what compromises you need to make. In this case, the style was made an inch wider than the rest of the styles to accommodate the fact that there was a step in the way.
If you want to keep the wooden half inch style throughout the whole room, on the outside corner you can attach an inch and a half style to one you may have already cut at a half. Build the corner before attaching it to the wall.
When you have to decide how wide to make the flat panels, you can feel free to do what looks the best to you. You can also decide about the width by seeing what the wall might allow (if there is an outlet for example, that might make a difference.)
In this case, for the trim that goes inside the panels, a thirty-eight quarter round was used. Once you go across the whole room, you are finished!
As you can tell, this project takes some thought about figuring out what kind of look you want. It may even take some compromising depending on if there are outlets or steps going to another room that may be in the way. After some thought, a bit of work and some patience, the room will look great. It might even look better than ever!
To learn more about installing chair rail and wainscoting to any of your rooms, you can visit:
