Now that we are all set with the supplies and the space to work in let's gather our tools and get started. For this project, you will need:
Tools:
Circular saw or reciprocating saw with a wood-cutting blade
Nail-pulling crow bar
Hammer
Power screw-gun
Tape-measure
Carpenter's square
Marker
Instructions:
Step 1: Transforming the pallet into a bench seat and back
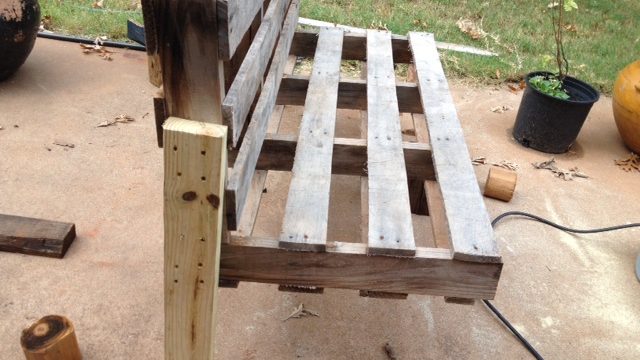
I selected this 48-in x 42-in Oak pallet. Notice it had one broken slat, but conveniently it was one I was going to remove anyway. My plan was to turn the pallet into the bench back and the bench seat, with just six saw cuts, and the 2×4 into four legs — but that comes later.
To make the seat back 17 inches tall, I measured that off on the pallet, confirming I needed to remove the broken slat. So with my trusty hammer and prybar, Don'yt have a pry bar see how to make one here.
Next, I marked off that same 17 inches from the end of each of the four major crossmembers where I would make my cuts. After setting my circular saw to cut roughly 2 inches deep, I cut along marks, flipping over the pallet to complete the cuts from the other side as the boards were too deep for only one cut.
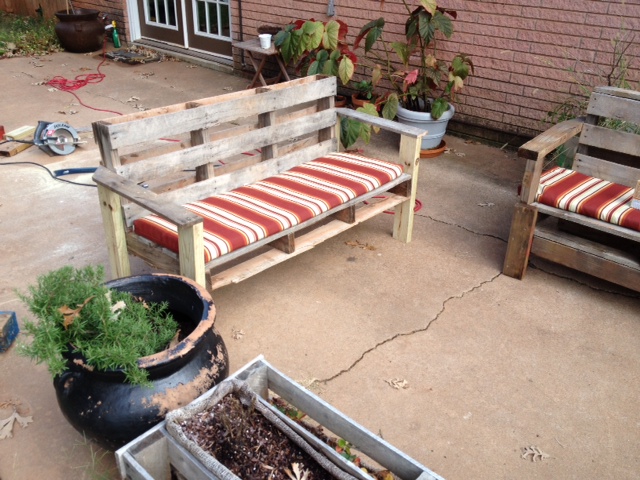
From here, I took the newly minted shorter pallet section — the bench back — and stacked vertically on the the longer section — the bench seat — which I left laying flat. Now you can see the bench taking shape, sort of.
Step 2: Make the legs/armrest supports
This part is super simpe and there is no real need for instruction on this one so I will just tell you that I cut the 2×4 into what will double as legs and armrest supports. Cut the 2×4 into four pieces, each 21 3/4-inches.
Simple as that.
Step 3: Attach legs to the bench
Next, I raised the bench on blocks, the rear of the seat's bottom 8 inches from the ground and the front of the seat's bottom 10.5 inches from the ground. Of course, change this according to your tastes. You may want the seat higher or lower or leaned back more.
With the bench in that position, I started fastening the legs on using a cordless drill. I set up the drill with a Torx bit to drive these 2 1/2-inch self-tapping deck screws through the 21 3/4-inch newly-cut boards into the sides of the seat bottom back. The star-headed (Torx) screws are great as the bits do not easily slip out as do the Phillips.
As you can see in the photo above, I ran screws through the leg boards into both the seat back portion and into the bench seat, in effect, not only attaching the leg to the bench but also fastening the bench sections to each other. I recommend four screws into the bottom section, four into the top and then an additional two into the bottom of the seat back section — close to the seat, just for added support and strength.
For added strength in the center of the bench, I toe-nailed a screw into each of the two sets of center supporting beams of the seat and back, joining the two sections and preventing the bench from bowing down once weight is put on its center.
Now that we have that it's time to make the arm rests so keep reading.