Now that you have your rifle it's time to get to work. Let's start with the basics.
Step 1:
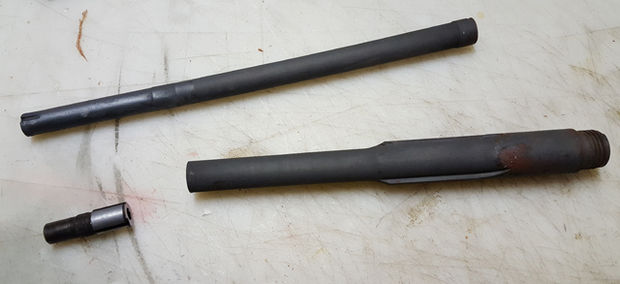
Anneal the barrel.

Step 2:
Cut the annealed barrel into several small pieces with a bandsaw.
Step 3:
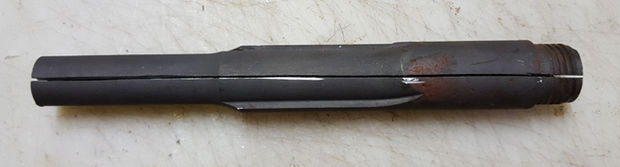
Cut a slit along the length of one side of the piece of the barrel I chose to make the blade from. I did this by opening up the bandsaw guide and addressing the blade vertically.
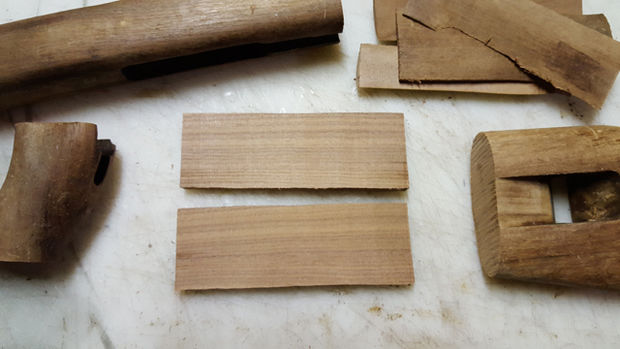
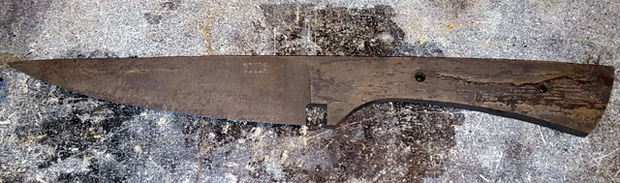
Step 4:
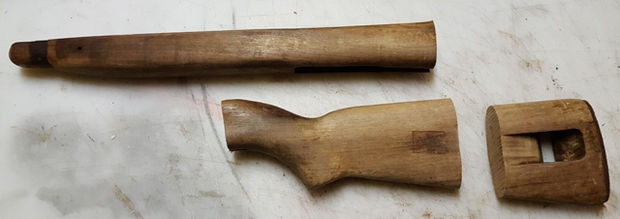
Handle scales cut from the stock.
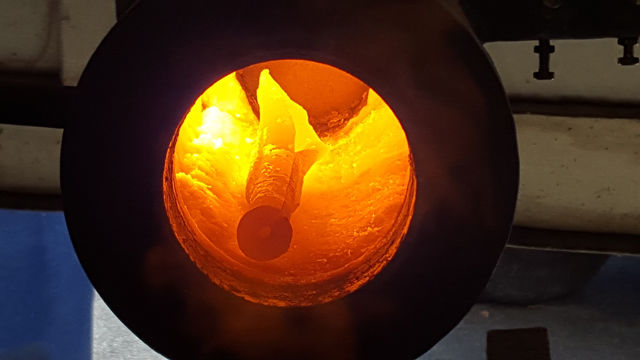
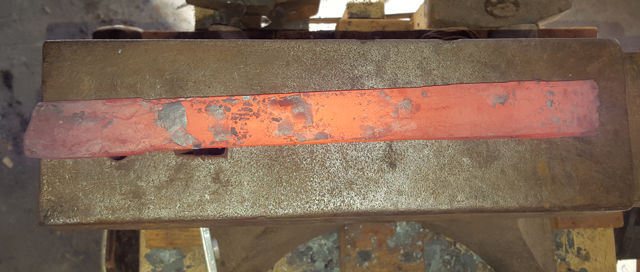
Step 5:
I heated the barrel in my forge, and started opening it by driving it onto the point of the horn on my anvil. After I opened it sufficiently, I forged it into a rectangular billet.
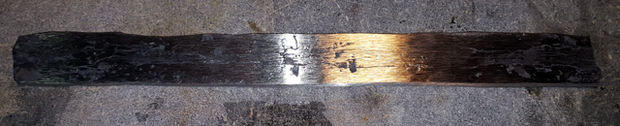
Step 6:
After the billet was formed, I bandsaw cut the profile.
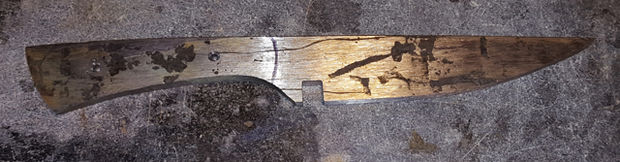
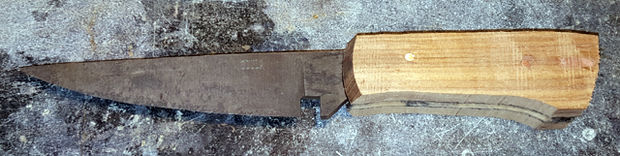
Step 7:
Cut a notch in the profile for the guard and drill pins for the handle scales.
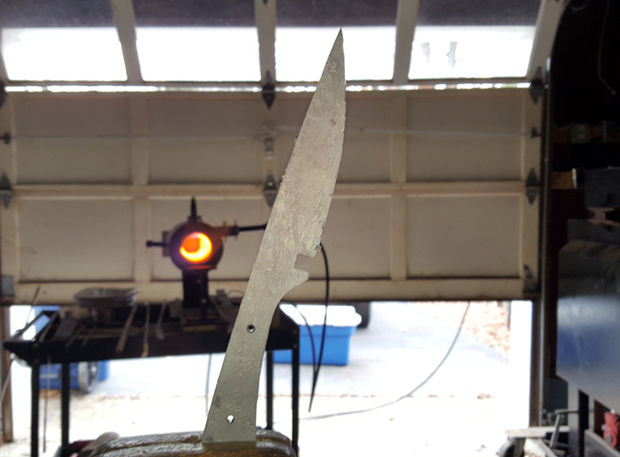
Step 8:
Grind the bevels and normalize, harden, and temper the blade.
Step 9:
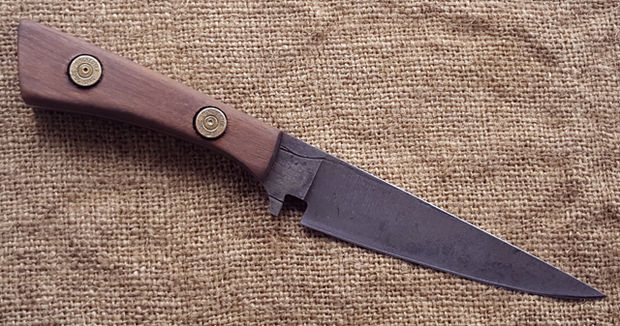
Here the scales have been roughly shaped and pinned to the tang, and then finish sanded in place. Note that the front of the scales should be finished prior to the scales being attached – that surface is very hard to finish after the scales are attached.
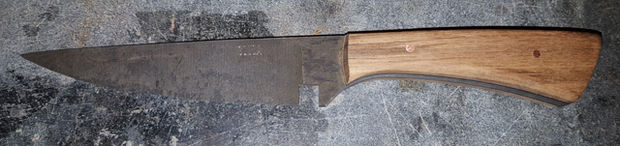
Step 10:
I counter sunk a hole over each pin to accommodate the base of the bullet casings that the customer provided. After they were fitted they were epoxied in place.

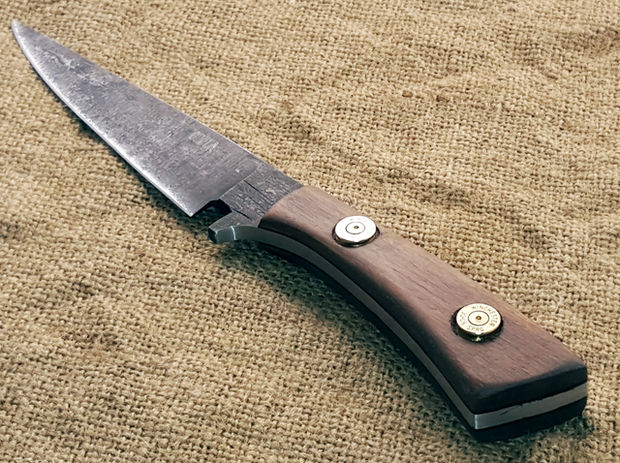

Complete these 10 steps and you will find yourself no longer in possession of an old rifle, but a new, sharp looking knife. Of course, feel free to get a little creative and add some of your own flair to this project.
Check out tgdula in metalworking on Instructables for more awesome projects.
Brian W Cook
Spencer Svenn Buckler