Step 4: Set Your Screws
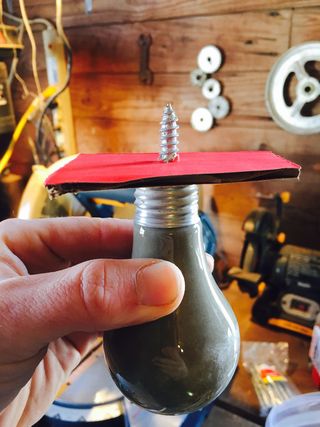
I used a 5/16 by 3in lag screw as my anchors.
Make sure that when you fill the bulb up with cement you fill it all the way to the top. Let the Concrete dry for at least three days and then you can start to break some glass.
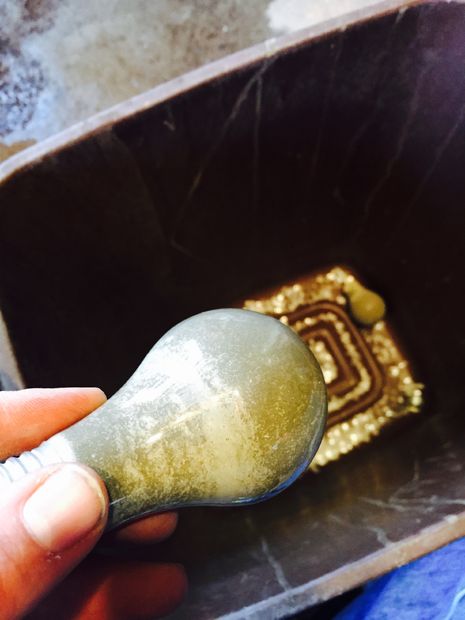
Step 5: Break Some Glass
Lightly tap on the bulb to crack the glass.
You will want to do this over a garbage because it will be a mess. Also please use safety glasses.
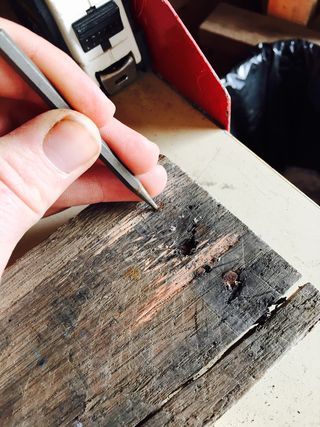
The little bits that are stuck to the inside of the metal are the hardest ones to get. Use a small pick or screwdriver to pry them out but be careful not to cut yourself.
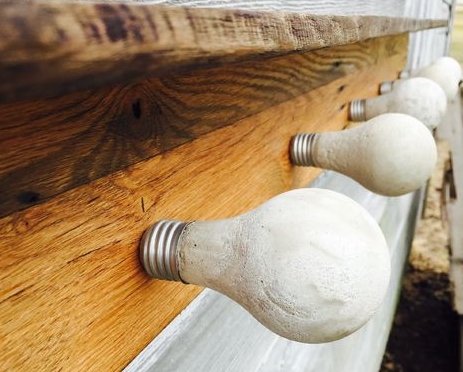
Step 6: The Shelf
For the shelf I used apple bin boards. These boards come from 26 bushel Apple bins that we use at out families apple orchard.
I use a small punch to pound the nails out. Then grab the head of the nail with a hammer and pull them out.
I wanted to have some rustic looking edges but I did run two sides through the jointer so the boards would sit flush on each other.
When the boards are ready, I used a brad nailer to secure the pieces together.
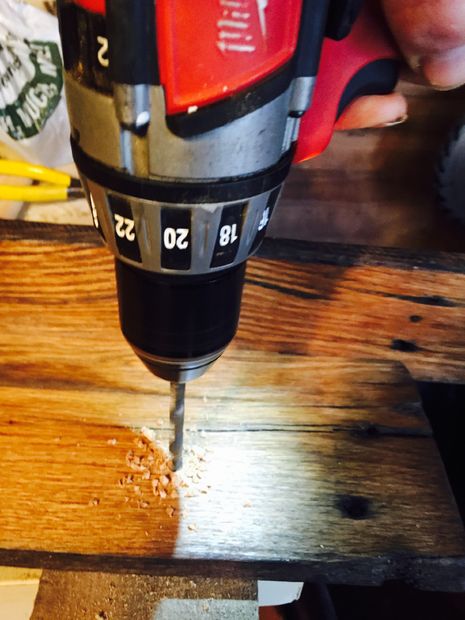
Step 7: Drill and Screw
I put two coats of semi gloss polyurethane on the shelf and then drilled some pilot holes for the lags. I used a drill bit that was about half the size of the lag. After the holes have been drilled you can screw the bulbs in by hand.
Have you made this concrete light bulb coat rack from reclaimed wood? How did it go?
Article Source: Instructables