The makers of this project tested this antenna in several different scenarios and the antenna passed with flying colors. Instead of worrying about WiFi outages, you can use this DIY project to make your own antenna!
Building the antenna
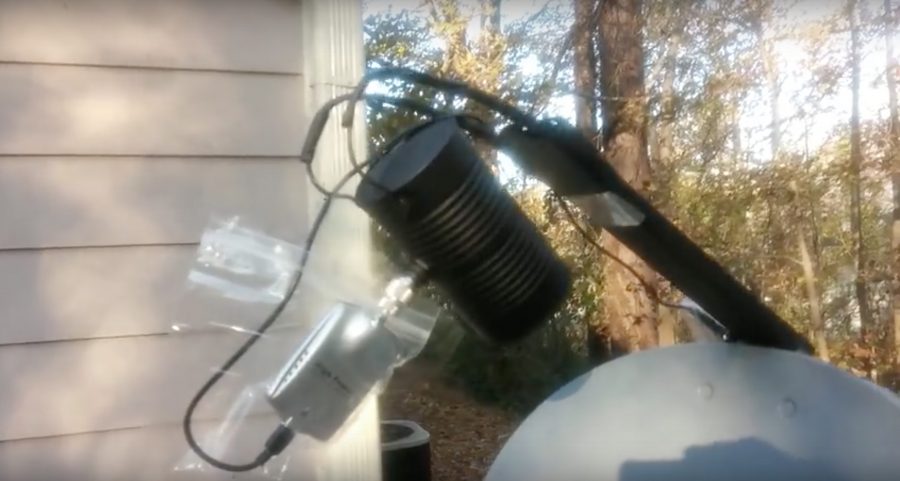
The most important part here is the small silver panel mount N-connector in the center of the picture; the entire antenna will be built on this. We purchased it from S.M. Electronics, part# 1113-000-N331-011. The “N-connector” is standard across the majority of commercial antennas and you can connect them to your wireless devices using “pigtails.” The longer pigtail in the picture is a RP-TNC to N-Male pigtail that we'll use to connect our antenna to a Linksys WRT54G access point. The short pigtail is a RP-MMCX to N-Male pigtail so we can connect to our Senao 2511CD PLUS EXT2 WiFi card which is pictured. We also purchased 10 feet of WBC 400 coax cable so we wouldn't have to sit with the dish in our lap. We got our surplus DirecTV dish from Freecycle.
We used this thin sheet of copper and supported it using the 1/4-inch thick black plastic pictured.
The first step in building the element was stripping and cutting a 244mm length of wire.
We marked the wire every 31mm with a permanent marker and began bending the wire into a double diamond shape. We tried to make the length of each leg 30.5mm.
Next we cut out a 110mm square of black plastic to use as a base for the reflector. We drilled a hole in the center to clear our connector.
We then soldered a piece of copper wire to the center pin of our N-connector.
Next we soldered a piece of of wire to the outside of the connector. We bought a butane torch and used that. We recommend you solder the outside piece of wire first before doing the center one.
After the connector had cooled it was attached to the black plastic base using epoxy. The thin copper sheet was attached to the front with epoxy and trimmed to fit.
We let the epoxy cure for a while before proceeding. The next step was to solder our bow tie shaped element to the vertical wires. The element was supported by two pieces of scrap copper trimmed to 15mm.
Then the extra wire was trimmed off and the outside wire was soldered to the ground plane.
To make mounting to the dish easy we modified the original feedhorn.
After removing the housing, internal components and shortening the feedhorn.
The antenna is attached by inserting the N-connector into the tube and then connecting the coax cable.
Even though there are no angle markings for setting the dish at 0 degrees inclination we can still ensure that the dish is pointing at the horizon by setting the dish angle to 45 degrees and mounting it on a tube with a 45 degree angle.
Test results
The Engadget Corn Belt Testing Facility has broadband access provided by a local WISP. We pointed the dish at the closest grain elevator, where the WISP mounts their antennas. We connected the dish feed to our Senao card and started up Kismet.
We expected to get one AP, but five is even better.
Have you been able to build your own wifi biquad dish antenna?
Article Source: Engadget