There is no doubt about it using several materials and tools for your projects can at times be really loud. This may mean that people that are trying to sleep, watch TV or just enjoy the quiet might not like all the noise. These insulation noise panels can help solve this problem. You might be surprised at what a difference they will make!
Let's Get Started!
The Step By Step Directions For These Panels Are:
Construct Frame
Cut furring strips into two 48″ lengths, and two 25 1/2″ lengths. Apply glue to one side of each 48″ strip, place 25 1/2″ strip on top, with long pieces aligned with 25 1/2″ edge. Attach each strip with nail to avoid having to clamp assembly. Do same on other side.
I used a Square to make sure frame was constructed with close to right angles.
Attach Drop “Cloth” Backing
To keep insulating material in place, I attached thickest plastic drop cloth to back. Duct tape was used to keep it in place, it was stapled later when cloth covering was put on.
Insert Insulation
Once frame is constructed, properly-backed, insulation should easily drop in, while touching wooden (or plastic covered) edges. Spray sides of insulation with adhesive,maneuver into place. Let adhesive dry.
Use gloves, respirator to minimize exposure.
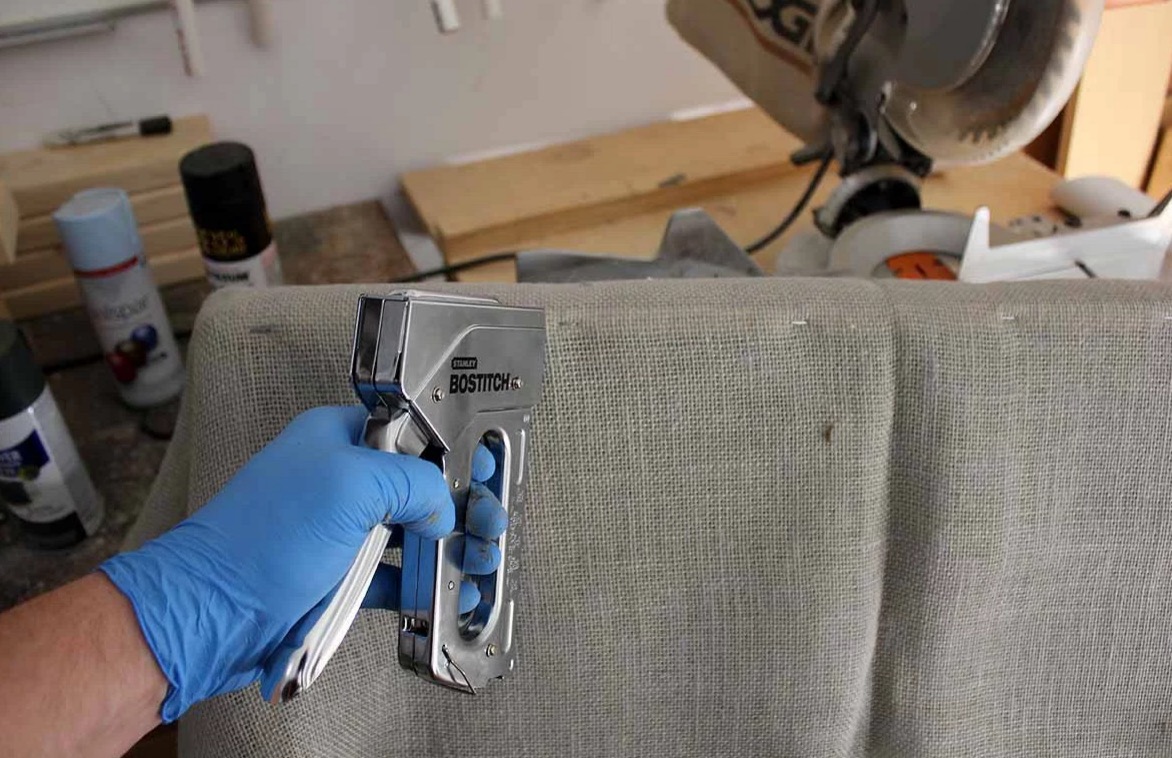
Cover with Cloth
Place cloth over side of frame not covered with plastic. Fold over as neatly as possible, staple tightly.
Attach to Wall
Attach picture hanging hardware, hang panel.
After installation and testing with sound level meter, there seems to be a small amount of noise reduction, but not as significant as one might hope. Regardless, this type of design has been used successfully with home theater setups, and with a more “refined” fabric than the burlap I’ve used here, would work well indoors.
Finished!
These noise insulation panels are so easy that you might want to build several more for other work areas in your home! Have you tried these insulation panels yet?
Let Us Know What You Thought!
To find out more about building noise insulation panels, you can visit: