Here's what you need to know to make this apartment-size aquaponics system. You'll start by drilling the holes and then cutting the holes for the pipes. The original post at the Instructables website has more details on these first two steps. Now you're ready for the really fun part of this cool DIY project:
Step 3: Add the pump and media
1. Add your pump to the container/fish tank and connect the 1/2″ threaded barb to the pump and black tubing.2. Add your media (aquarium pebbles, etc). This should amount to around 10% of the total volume of your system to allow for enough space for nitrifying bacteria to live. Nitrifying bacteria are the magic that makes this system work.
3. Some pumps come with an attached filter. If it does not, you'll need to rig up a filter so that your pump doesn't clog. Here we used a 2 inch net pot, sponge, and a zip tie.
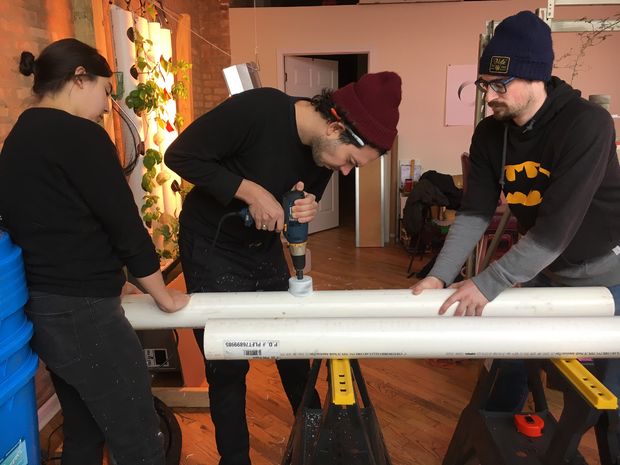
Step 4: Plumbing the top irrigators
1. Measure the distance between the centers of your pipes. Using a hacksaw or pipe cutter, cut two pieces of 1/2 inch PVC pipe to go between the PVC T-Shape drippers and connected everything.2. Cap the two ends with your PVC end caps.
*If you find you need more water flow control, add 2 inexpensive ball valves to the drip outlets.
After this, you'll add the fish and plants, but be sure to let the water sit for at least 24 hours so the chlorine can dissipate or use a dechlorination product. We also recommend using used plastic bottles and cutting holes in them for your seedlings.
This is a really cool project, and we love how it's been scaled down so that even apartment dwellers can enjoy aquaponics. What do you think of this project? Would you make it? Share your thoughts in the comment section below!
Article Source: Instructables
Kim Kitchener