Once you've assembled the archway, you can make customizations by painting it and choosing the plants you want to add. Planter boxes could also be attached to the structure. Since spring is here, it's the perfect time to get started on it. You might even find you like the trampoline better in its garden archway form than in its original form!
Step 1: Connecting..
Connected the support pillars to the curved parts with bolts.
I just drilled hole through and tightened them together.
Step 2: Feet..
For cutting parts i used reciprocating saw.
To mark the cutting line straight, I used A4 paper and a marker.
I made new feet for the curve from old trampoline feets.
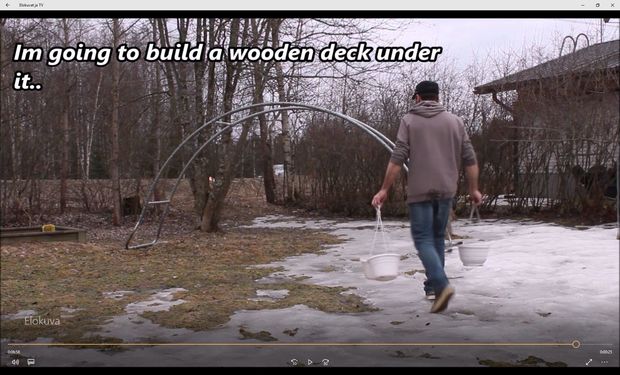
Step 3: Assembling..
When everything was cut, i measured parts to the right line / height and connected all remaining parts together with bolts.
It depends much from the frames original structure how many bolts you need / connection. Result is sturdier if you use two bolts side by side / connection in both curves.
Finally i cut off extra from the bolts.
Trampoline had 4 legs, so i used remaining two for making horizontal supports.
When weather gets little warmer, i paint the frame with more natural colour, and build some planter boxes to it.
Have you created this incredible garden archway from an old trampoline? Let us know how it went!
Article and Photo Source: Instructables