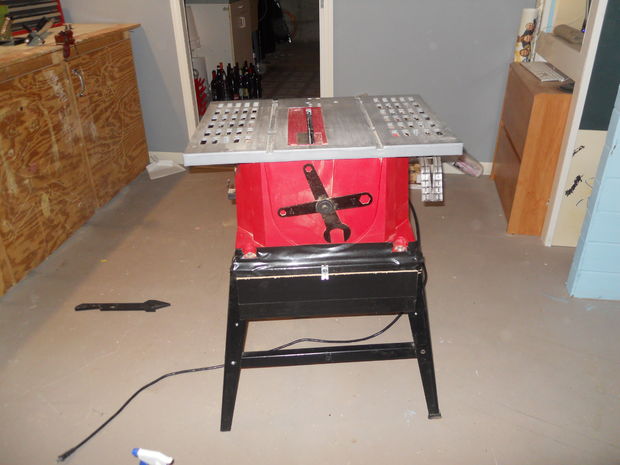
This dust-cleaning table saw addition provides a place for the dust to fall when you're in the middle of an important project. You can use either cardboard or wood for the adjustment, but wood is recommended since it will last longer and be sturdier. You'll be amazed at the cleanliness of your workspace once this guy has been added to your table saw!
Material:
- 1-Board big enough to cover the bottom of the table. You will want one with a slippery surface and about 1/4 in thick. The board I used is scrap wood.
- 1-Drill and drill bits
- 4-pieces of scrap wood. Need to be about 2×2 inches
- 4-wood screws to hold scrap wood in place
- 1-roll of duct tape or similiar. Same color as your table.
- Cardboard.(See step 15 if you want to use wood)
Step 1: 1st Measurement Up Front
I Make sure you take it from the inside since this is where the board will sit. Also, take the measurement up as high as you can on the table.
Step 2: Side Measurement
I took the next measurement on the sides with about a 2 to 3 inch drop at the back of the table.
Step 3: Back Measurement
I took the back measurement based off the lower side measurement. This is where the debris will be collected and swept up.
Step 4: Cut the Board
Cut the wood and make sure it fits underneath the table saw. It slopes from front to back. Cut some scrap wood to hold it in place.
Step 5: Set Board Underneath
I used some scrap wood to hold the thin board underneath the table saw. I chose about an 1/2 inch thick.
Step 6: Drill Holes to Hold Scrap Wood
We then drilled holes where the scrap wood would be.
Step 7: Pic of Underneath
The scrap board is held together with wood screws.
Step 8: Side Pic
This side pic shows the angle from front to back with board.
Step 9: Use Cardboard and Tape to Seal the Gaps
I ripped the cardboard and then placed the tape to hold it in place.
Step 10: Seal Gap Between Table and Saw
This prevented the dust from flying out of the bottom.
Step 11: Cover the Front
I again used cardboard to keep the costs down to cover the front.
Step 12: Final Product
There was still wood chips that came at me from the front of the saw and this was a very small amount. I appreciate the easier and less clean up that is done afterwards.
I worked on replacing the cardboard with my left over wood. The following steps I used wood instead of cardboard to make it more sturdy.
Take Away the Cardboard and Replace With Wood.
The same wood I used for the bottom is the same I used for the sides and the back. I just cut to size and then added hinges and black duct tape.


Have you made this dust-cleaning table saw? Did you make adjustments to the design?
Article & Photo Source: Instructables